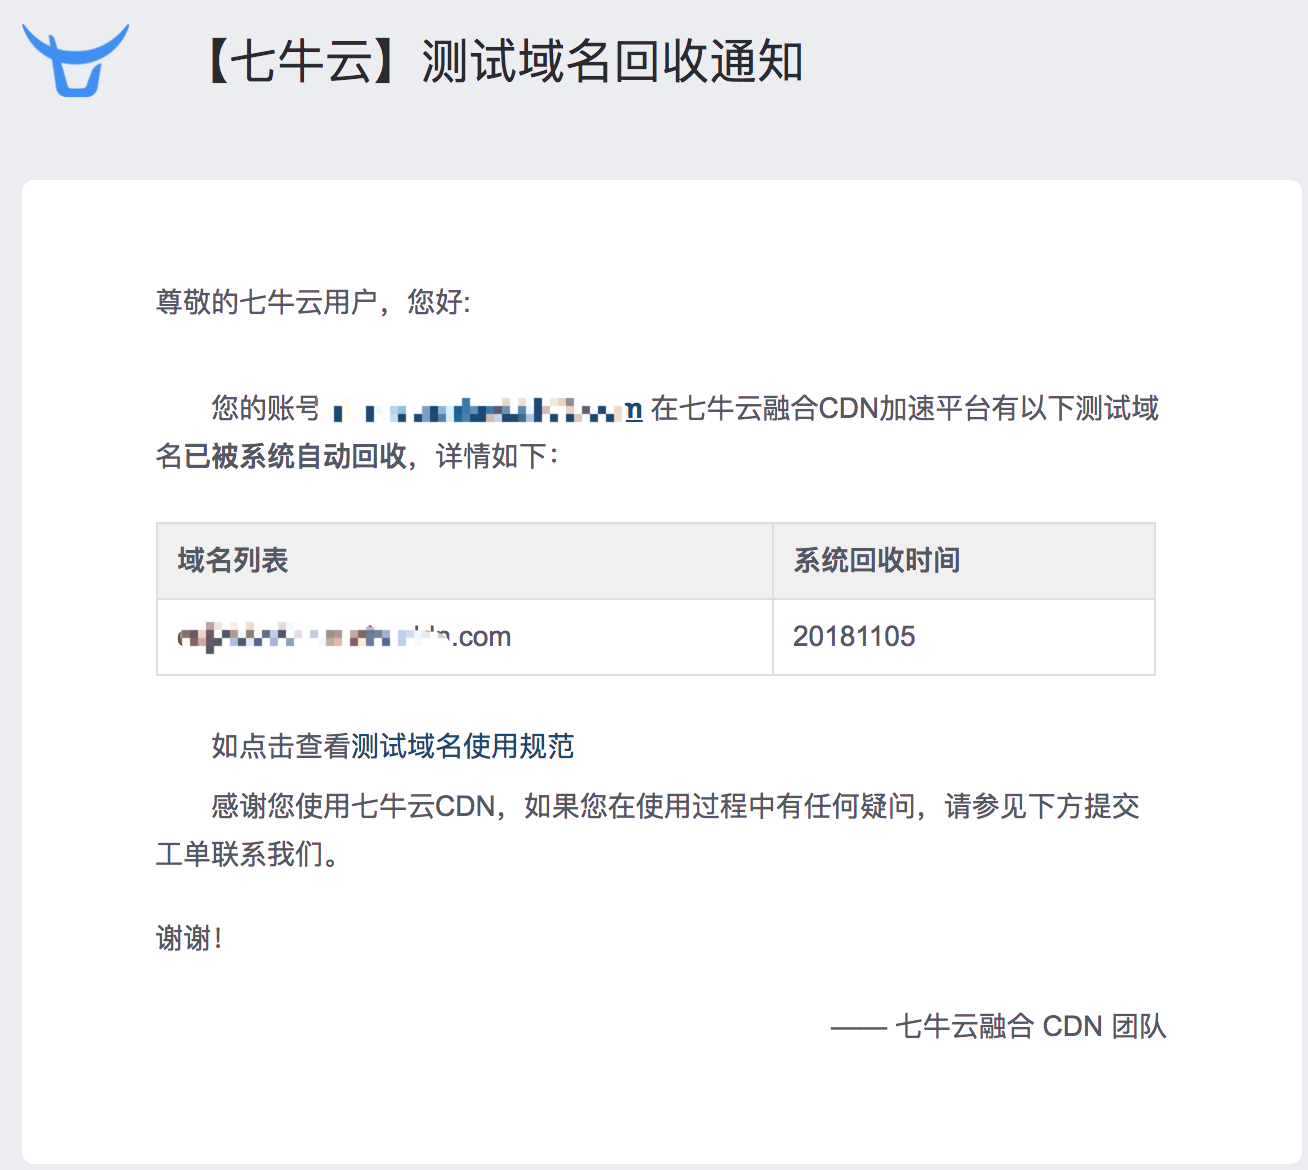
之前收到了七牛发的测试域名回收通知邮件,当时没太在意,以为域名过期了,再申请续一下就行。结果发现域名回收后,博客里面用的七牛的免费图床全部过期了,所有图片全都不可以访问了;当时内心是无比崩溃的。。。
于是乎,各番搜索,发现 Chevereto 免费版 是个不错的选择,就打算搭建一个属于自己的 图床 ,根据其要求,需要具备以下几个条件:
- Apache / NGiNX web server
- PHP 5.5.0 (standard libraries)
- MySQL 5.0 (ALL PRIVILEGES)
声明: 本人搭建是在 Vultr 的一台机器 (Ubuntu _16.04) 上搭建的。
NGINX
安装 Nginx:
1
2
3
cd /usr/local
apt-get update
apt-get install nginx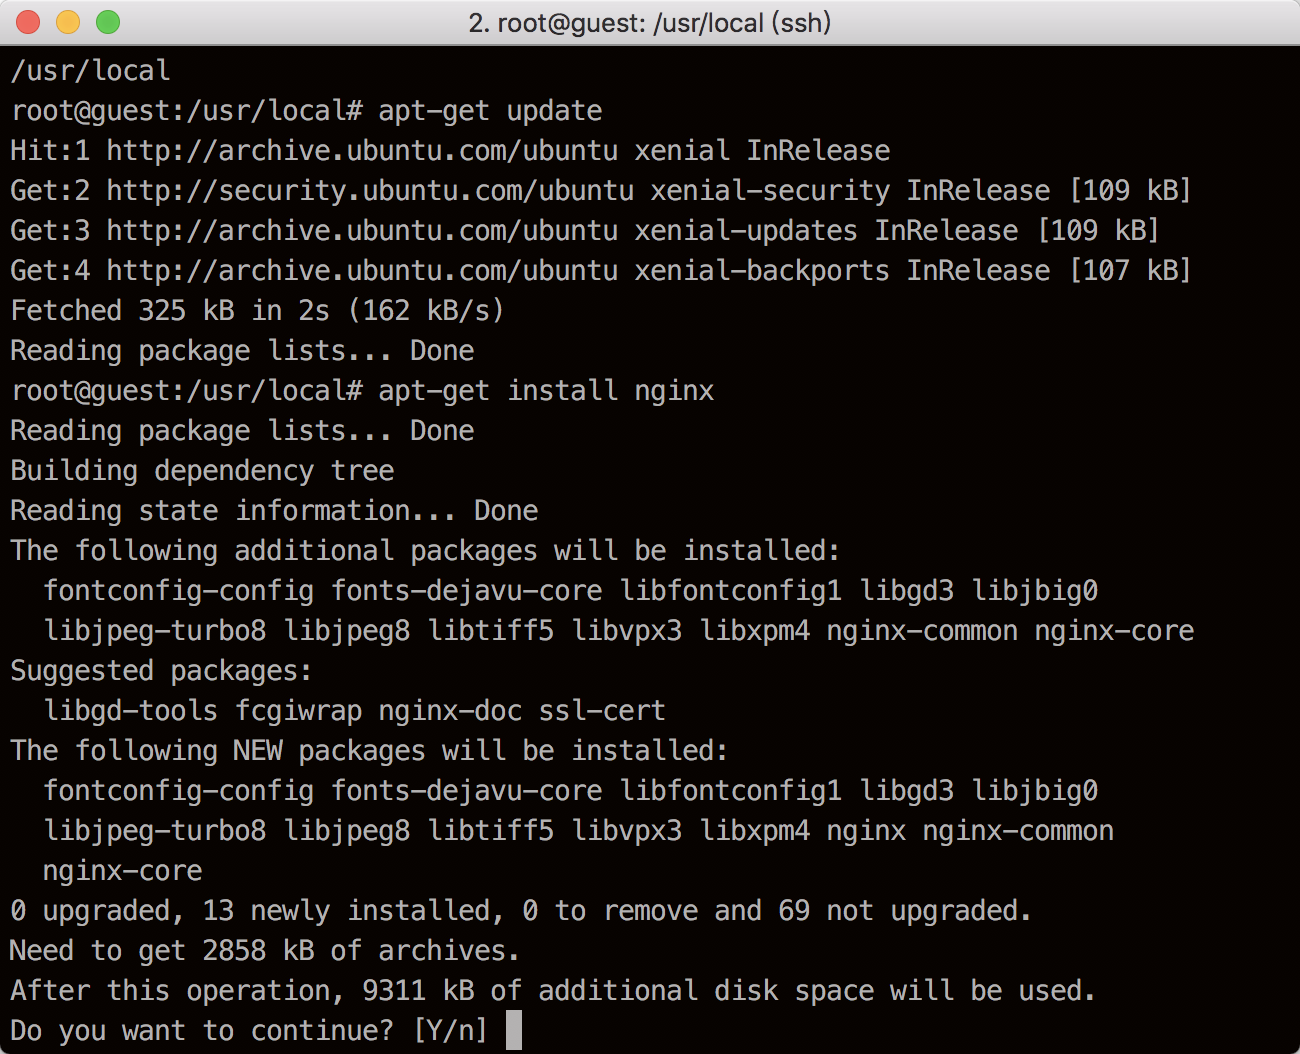
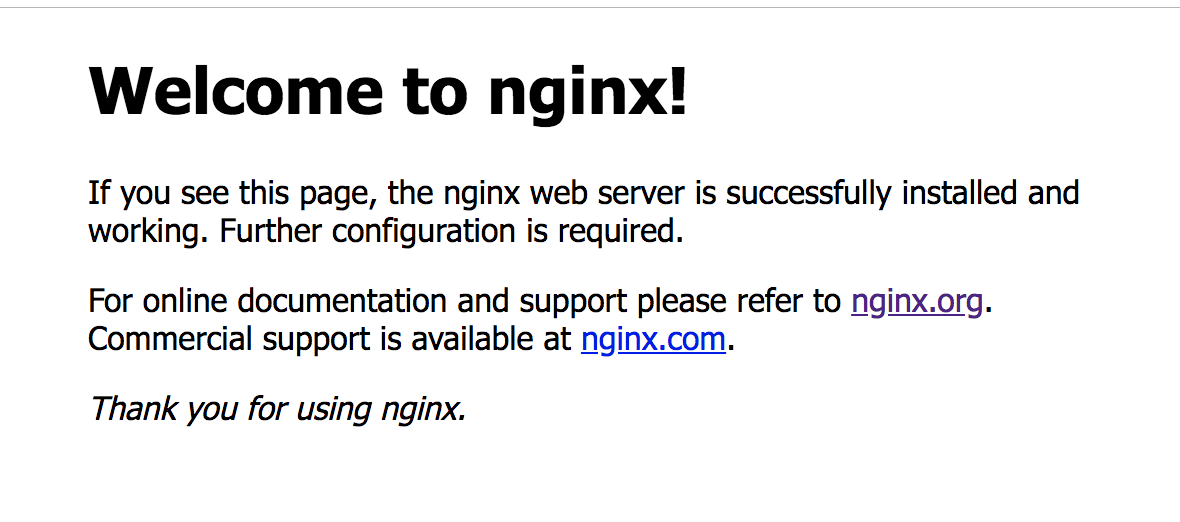
打开浏览器,输入服务器 http://server_domain_or_IP 地址,如下图所示,则说明安装成功
MySQL
安装MySQL
1
2
3
cd /usr/local
apt-get update
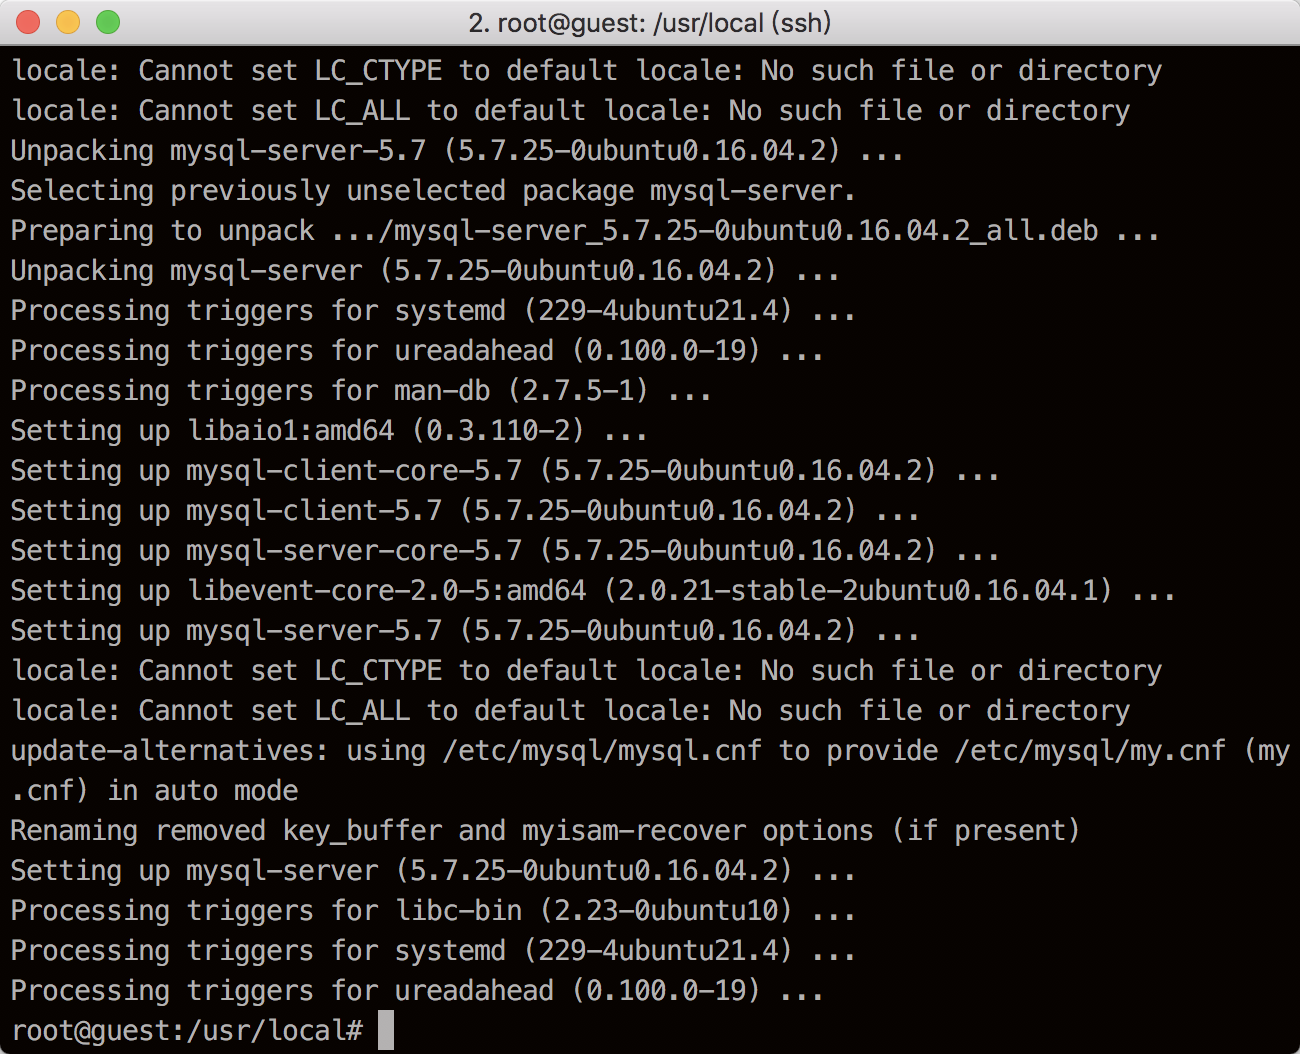
apt-get install mysql-server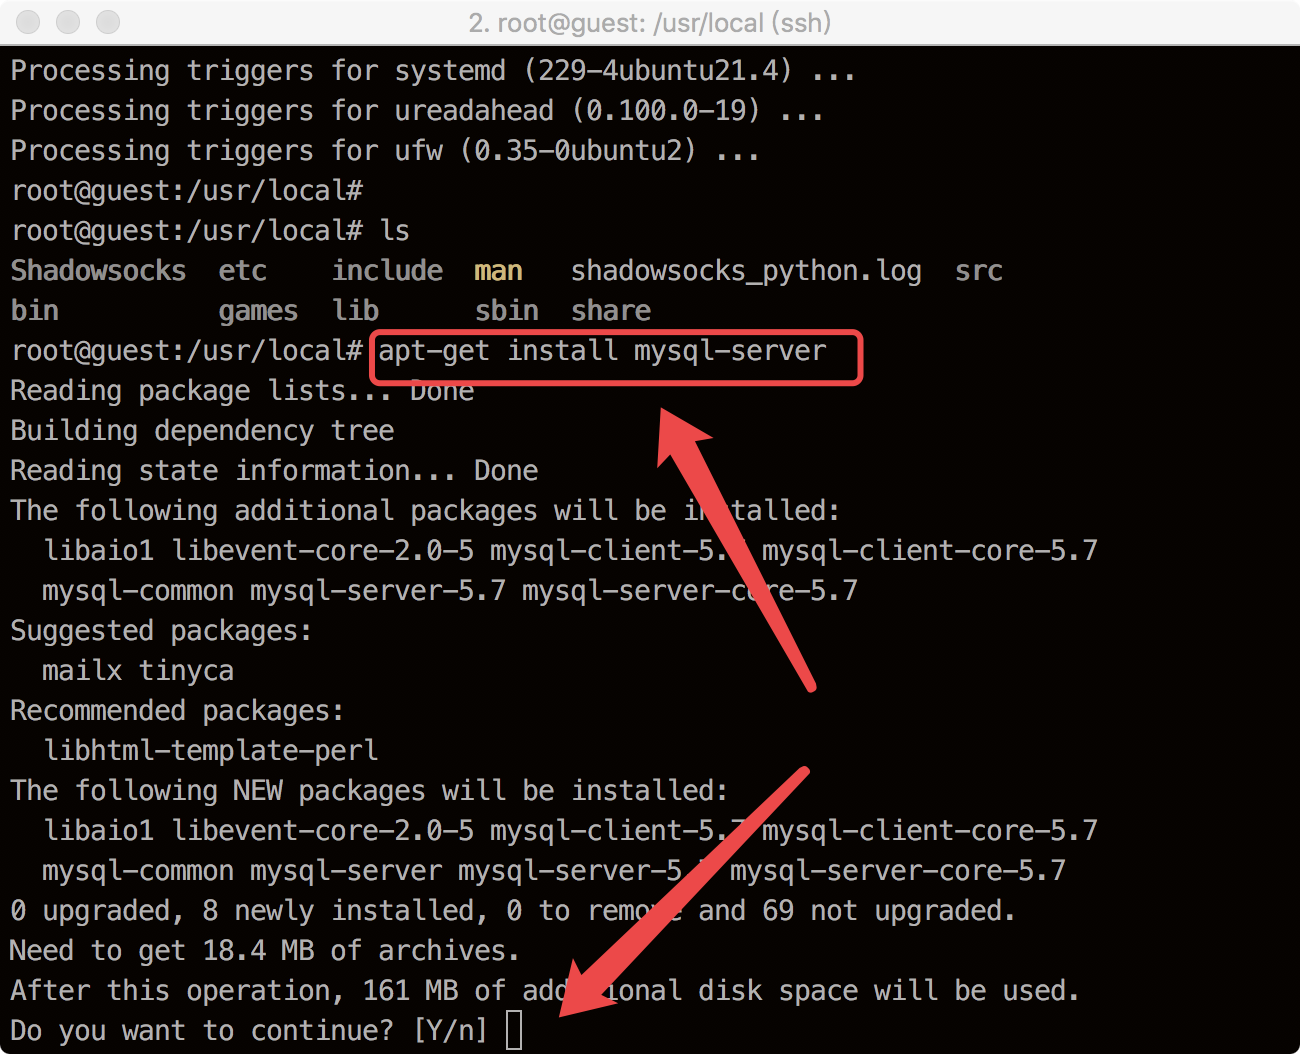
设置 MySQL root 密码:
********安装完成
PHP-7
安装 PHP-7.0
1
2
3
cd /usr/local
apt-get update
apt-get -y install php7.0-fpm php-mysql
PHP fix_pathinfo 潜在安全漏洞,在
/etc/php/7.0/fpm/php.ini中找到;cgi.fix_pathinfo=1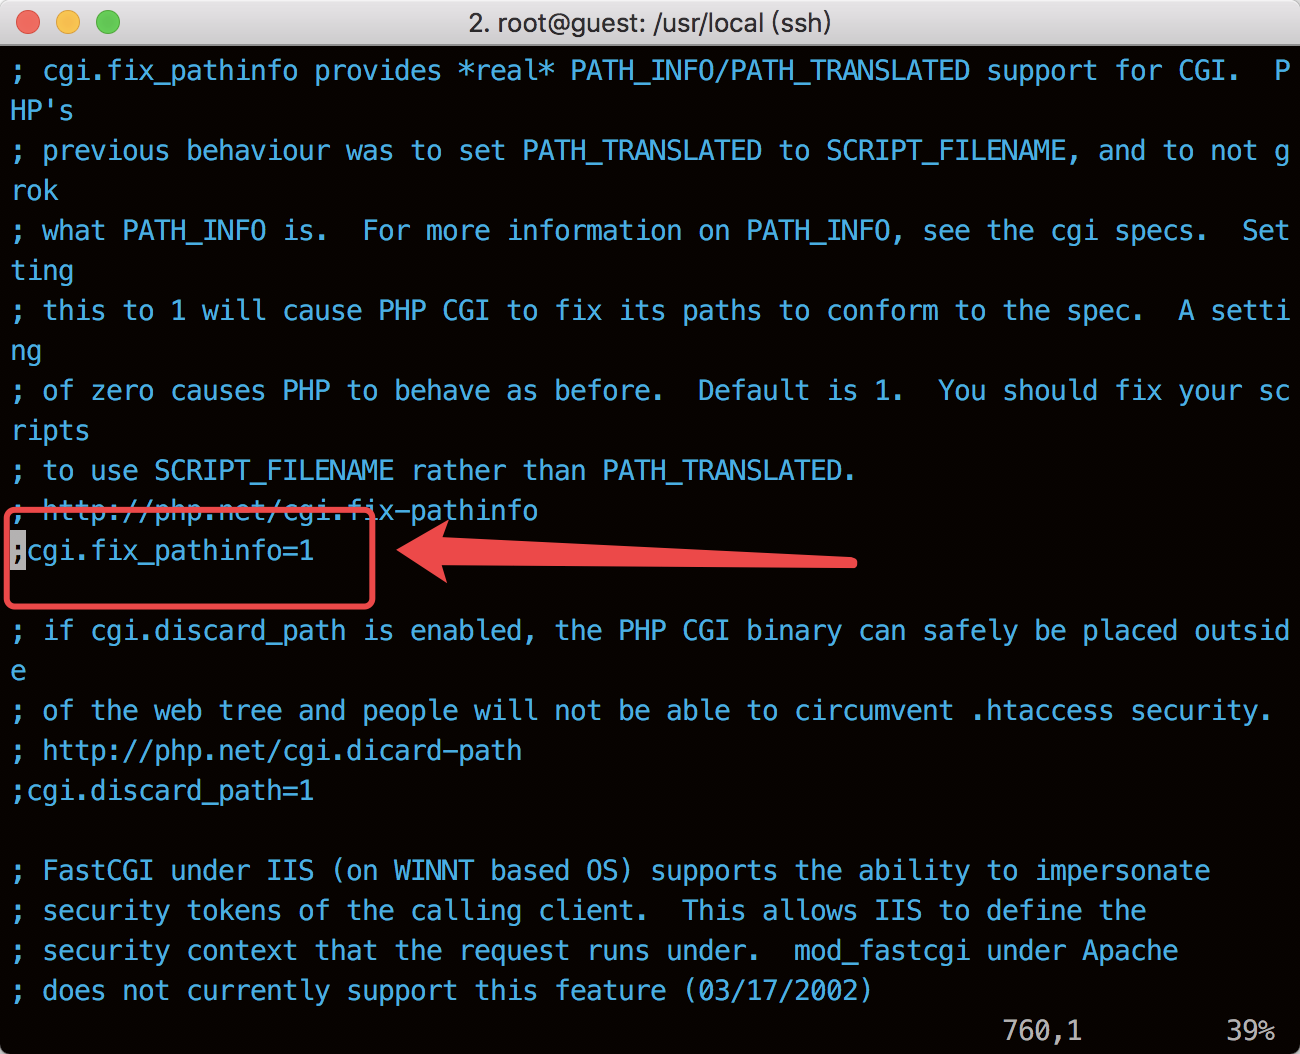
修改为:**
cgi.fix_pathinfo=0**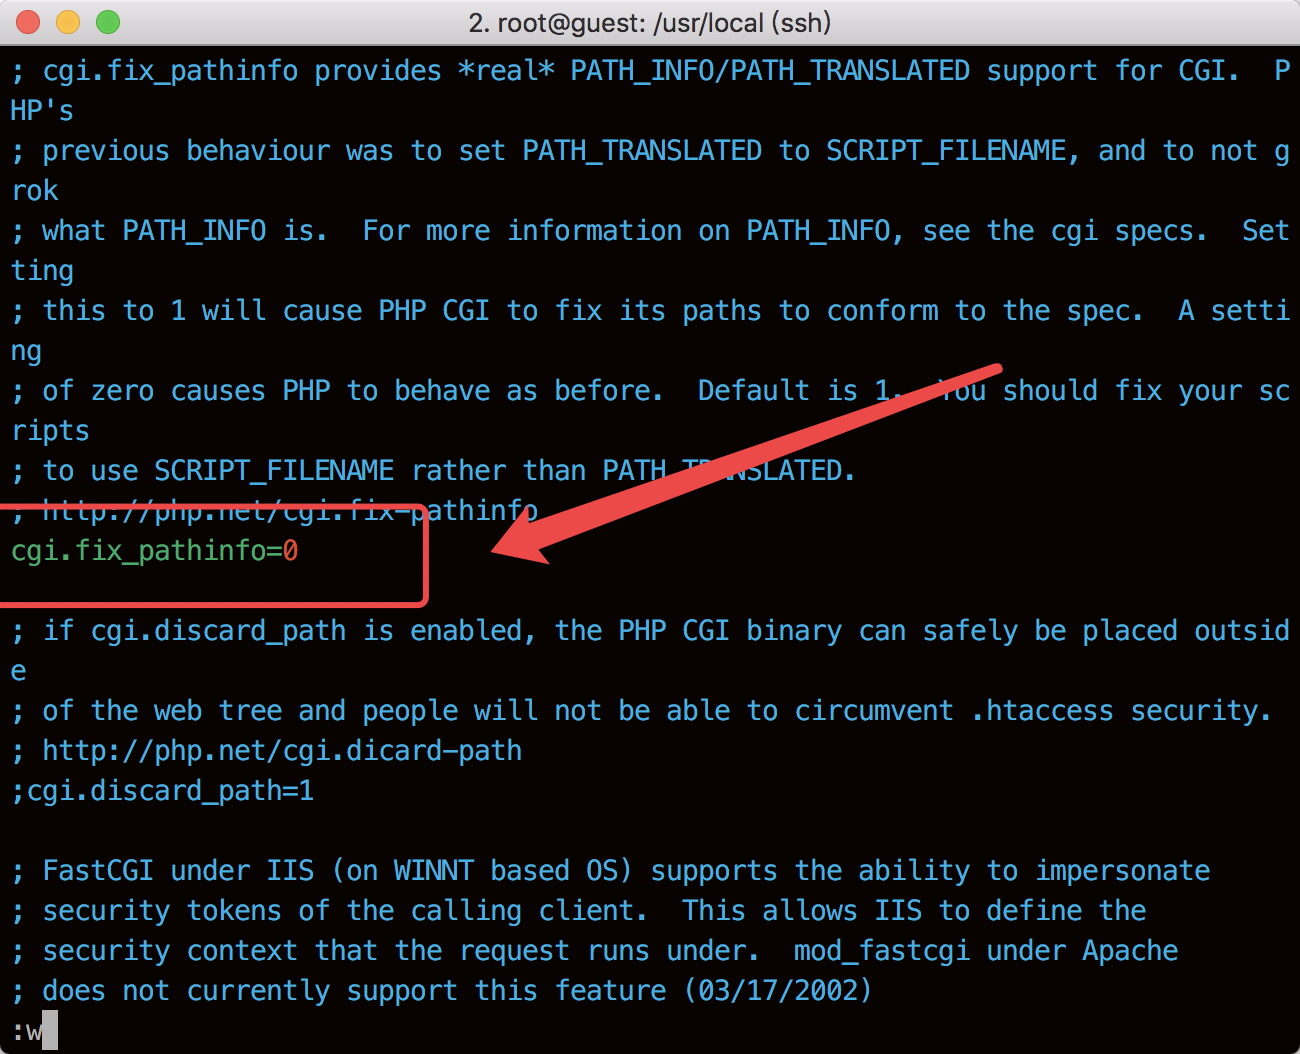
重启 php
1
systemctl restart php7.0-fpm
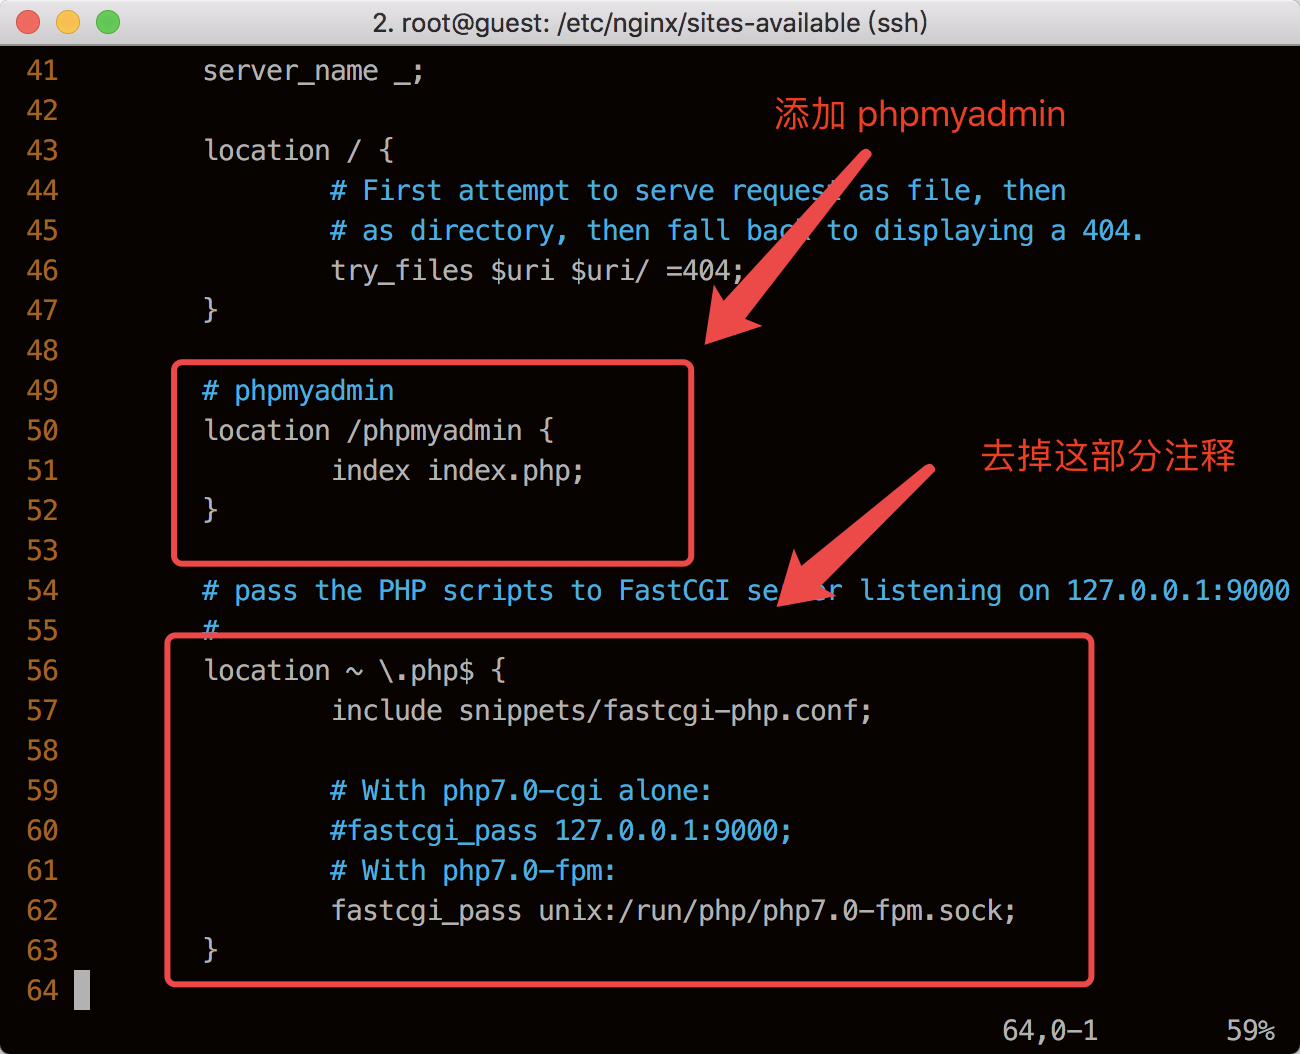
配置 Nginx-PHP:
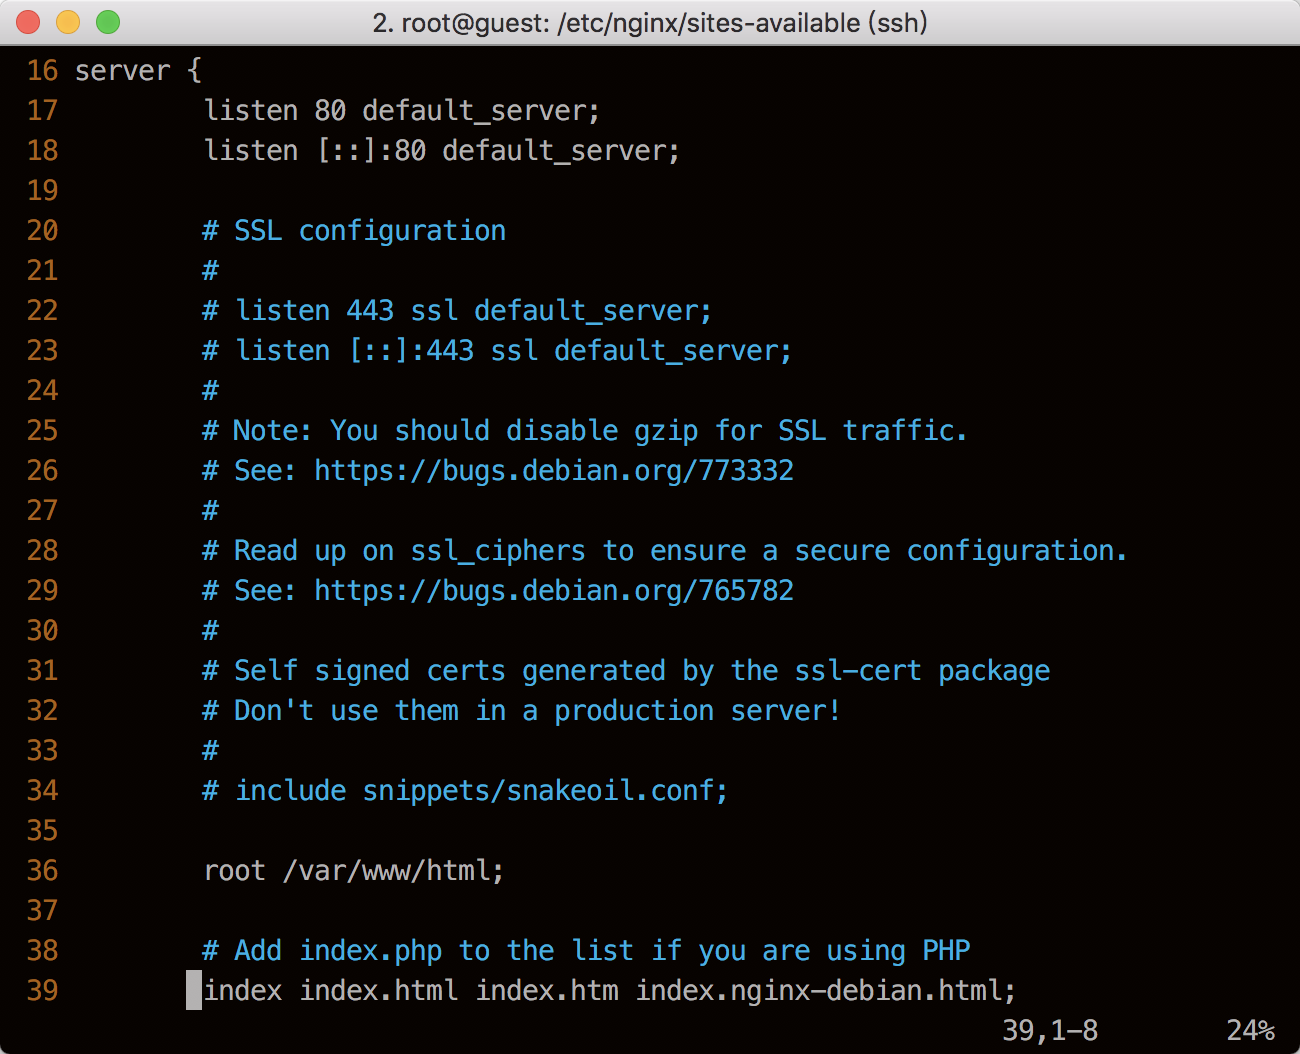
vi /etc/nginx/sites-available/default添加如下配置:1
2
3
4
5
6
7
8
9
10
11
12
13
14
15
16
17
18
19
20
21
22
23
24
25
26
27
28
29
30
31
32
33server {
listen 80;
listen [::]:80;
# listen [::]:443 ssl http2;
# listen 443 ssl http2;
# include ssl.conf;
# ssl_certificate /path/to/crt;
# ssl_certificate_key /path/to/key;
root /var/www/server_domain_or_IP;
index index.html index.htm index.php;
server_name server_domain_or_IP;
location / {
try_files $uri $uri/ =404;
}
location /phpmyadmin {
index index.php;
}
location ~ \.php$ {
include snippets/fastcgi-php.conf;
fastcgi_pass unix:/run/php/php7.0-fpm.sock;
}
location ~ /\.ht {
deny all;
}
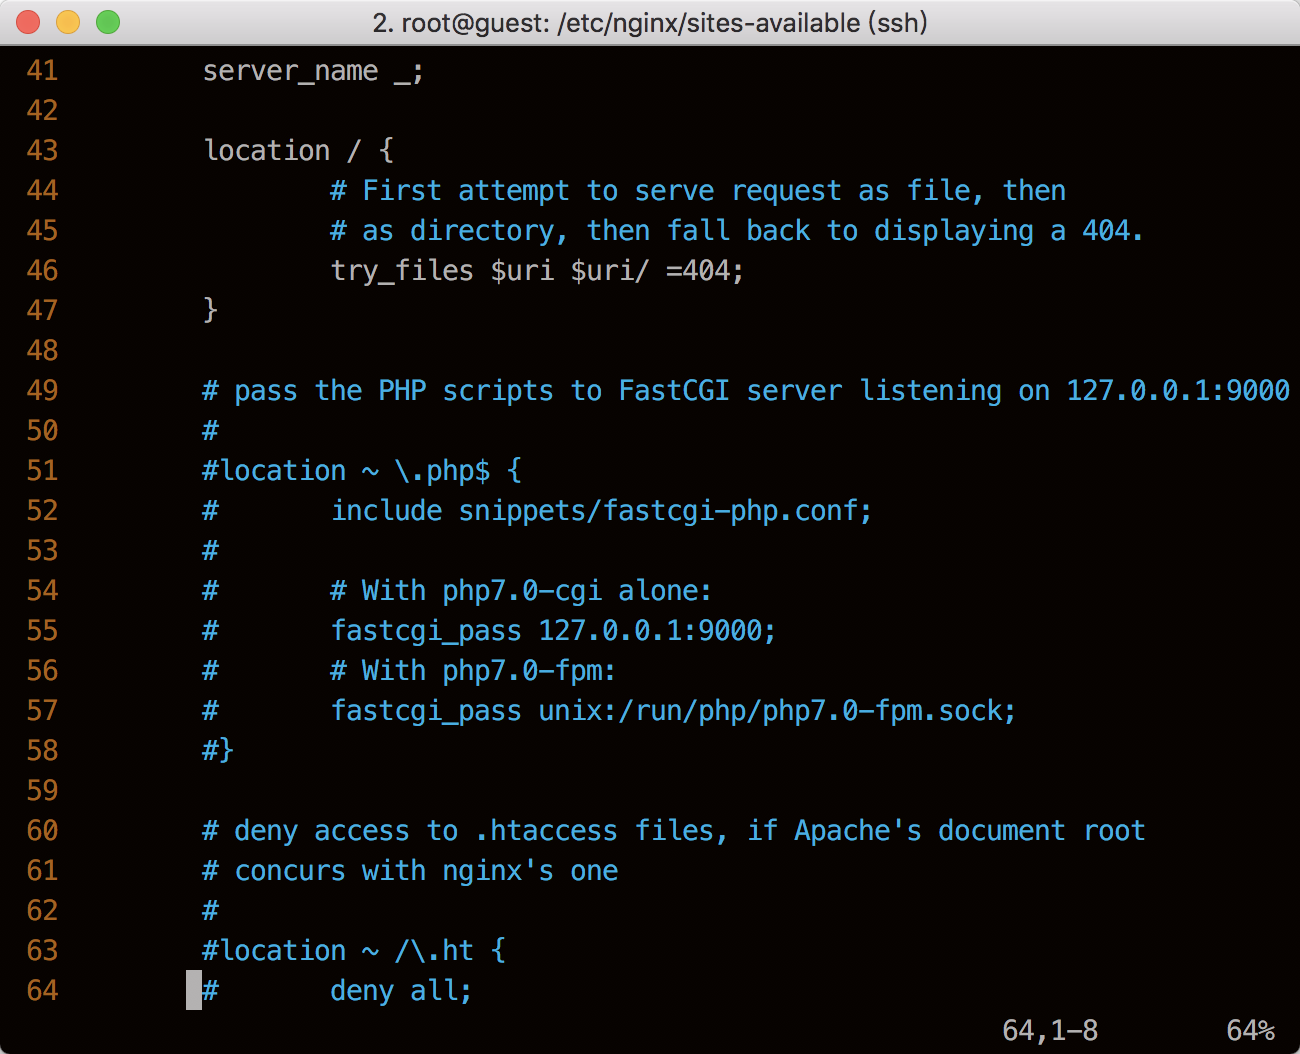
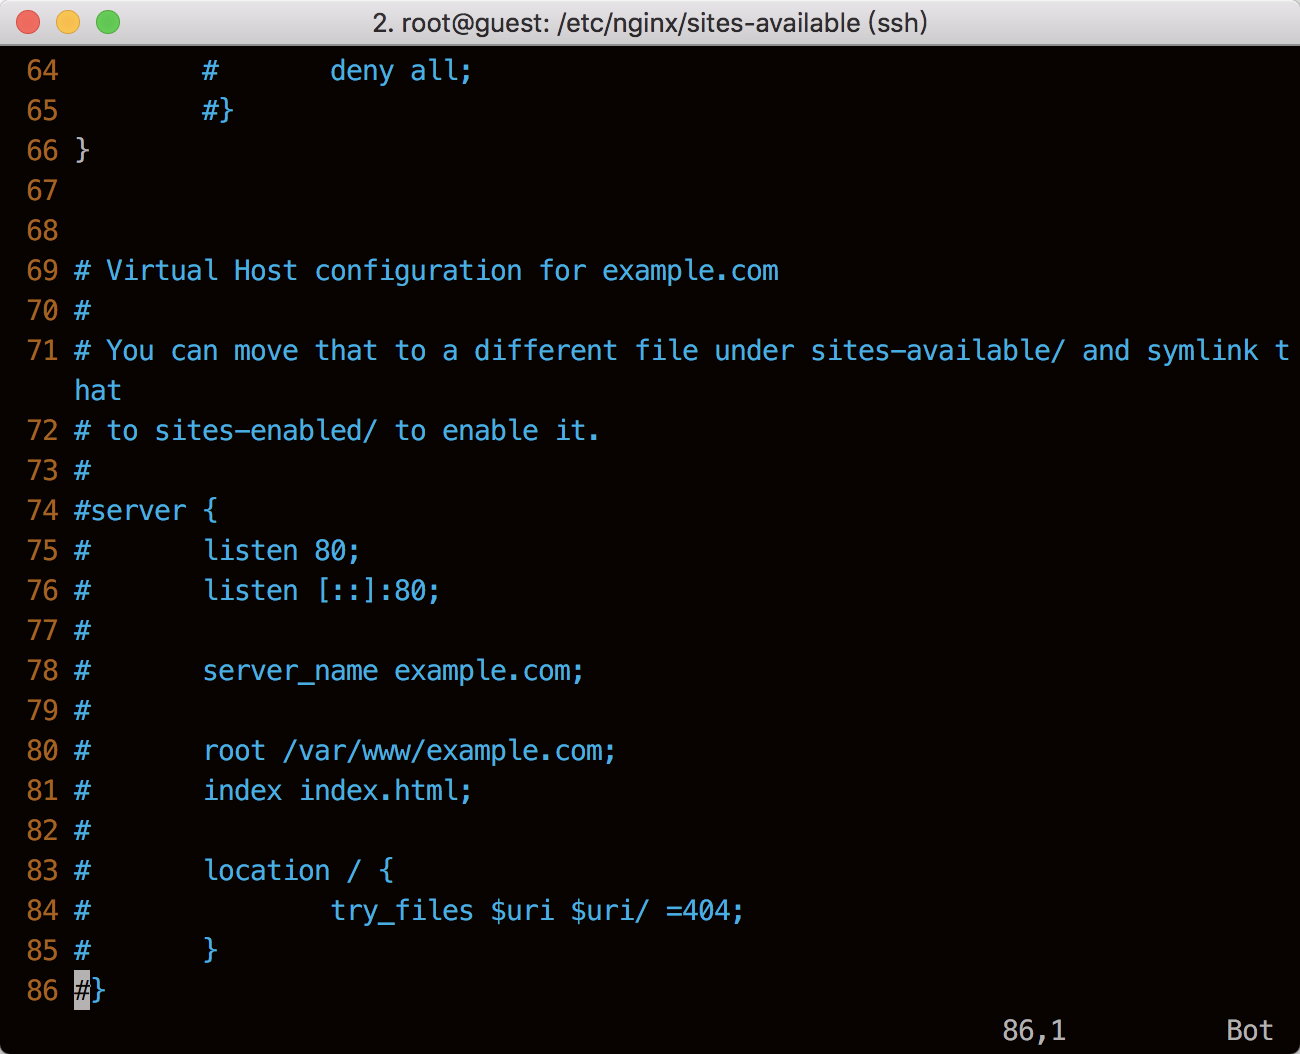
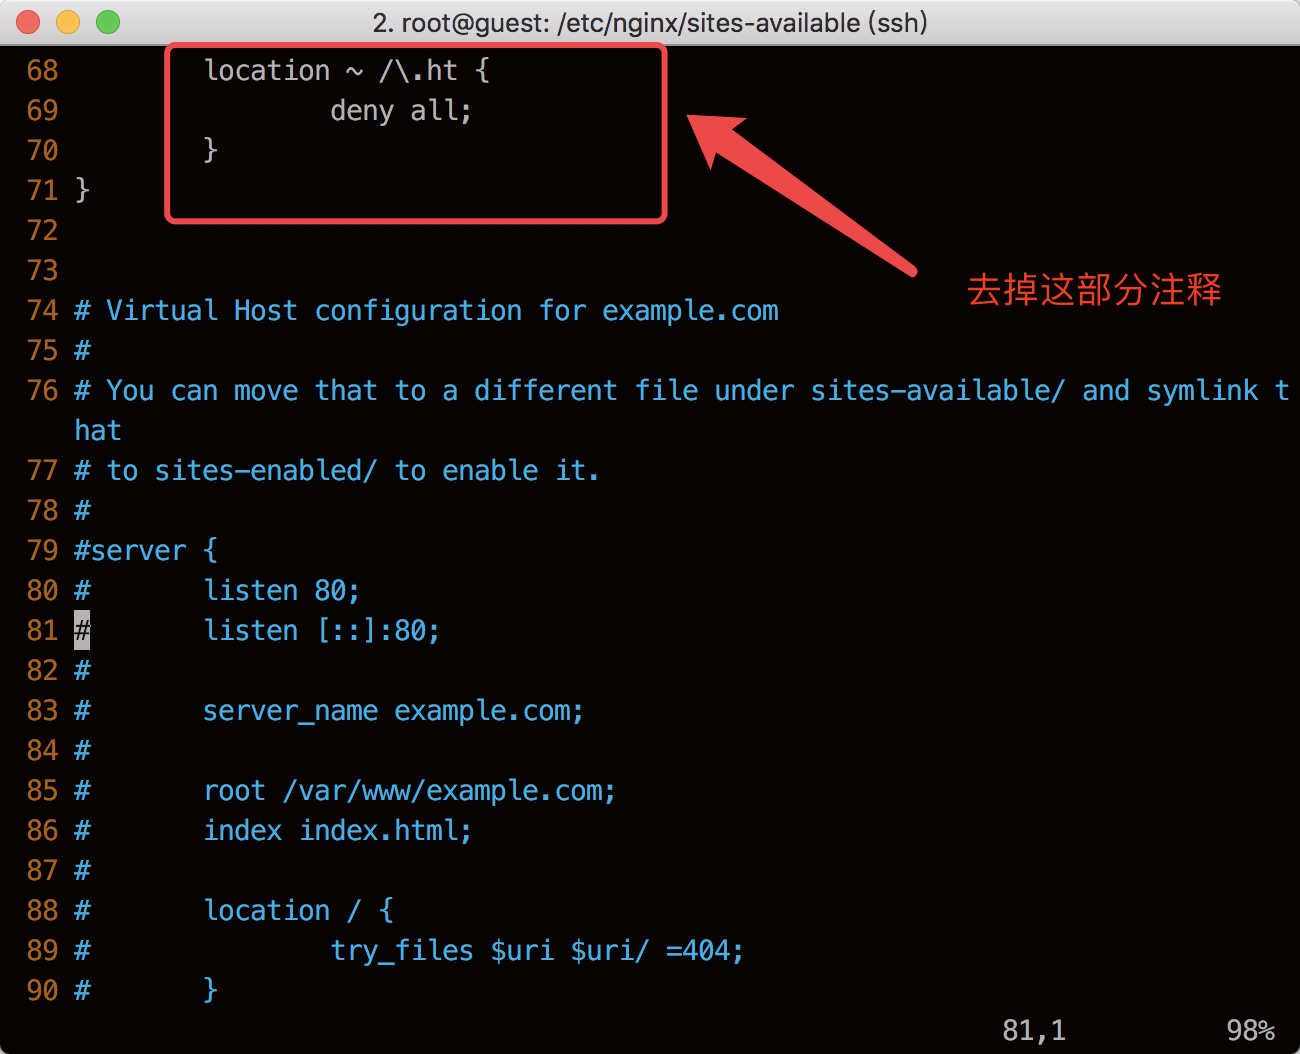
}配置前内容截图如下:
配置后内容截图如下:
重启 Nginx
1
systemctl restart nginx
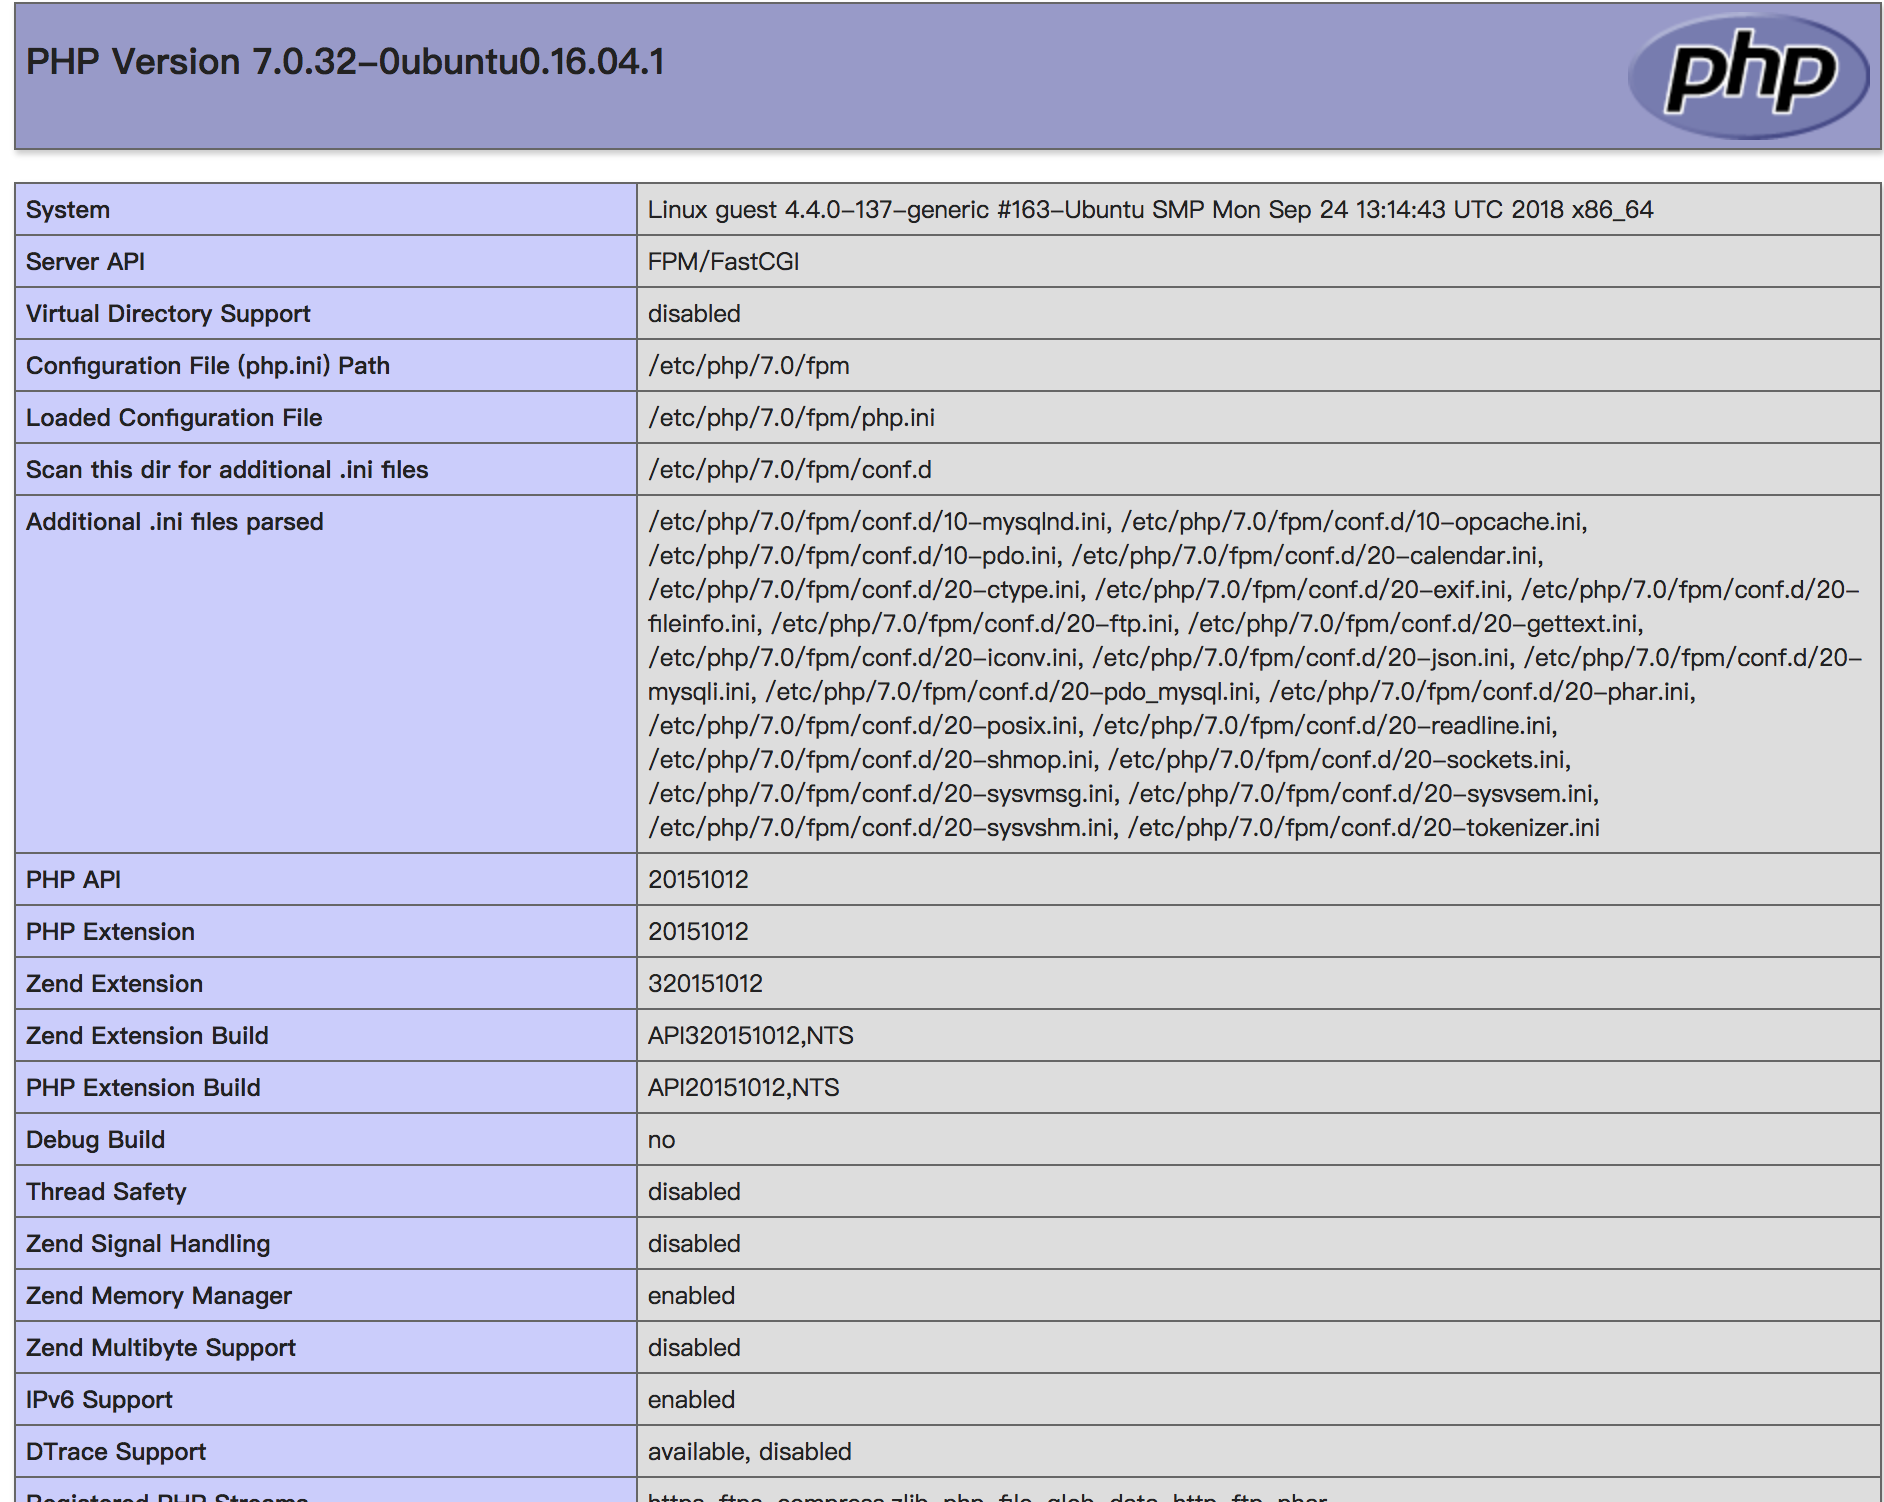
测试PHP是否已完成安装配置,添加 info.php
1
vi /var/www/html/info.php
添加内容
1
2
3
phpinfo();然后访问: http://server_domain_or_IP/info.php 出现下图则安装配置成功
使用 phpMyAdmin 管理 MySQL
安装phpMyAdmin
1
2
3
cd /usr/local
apt-get update
apt-get install phpmyadmin php-mbstring php-gettext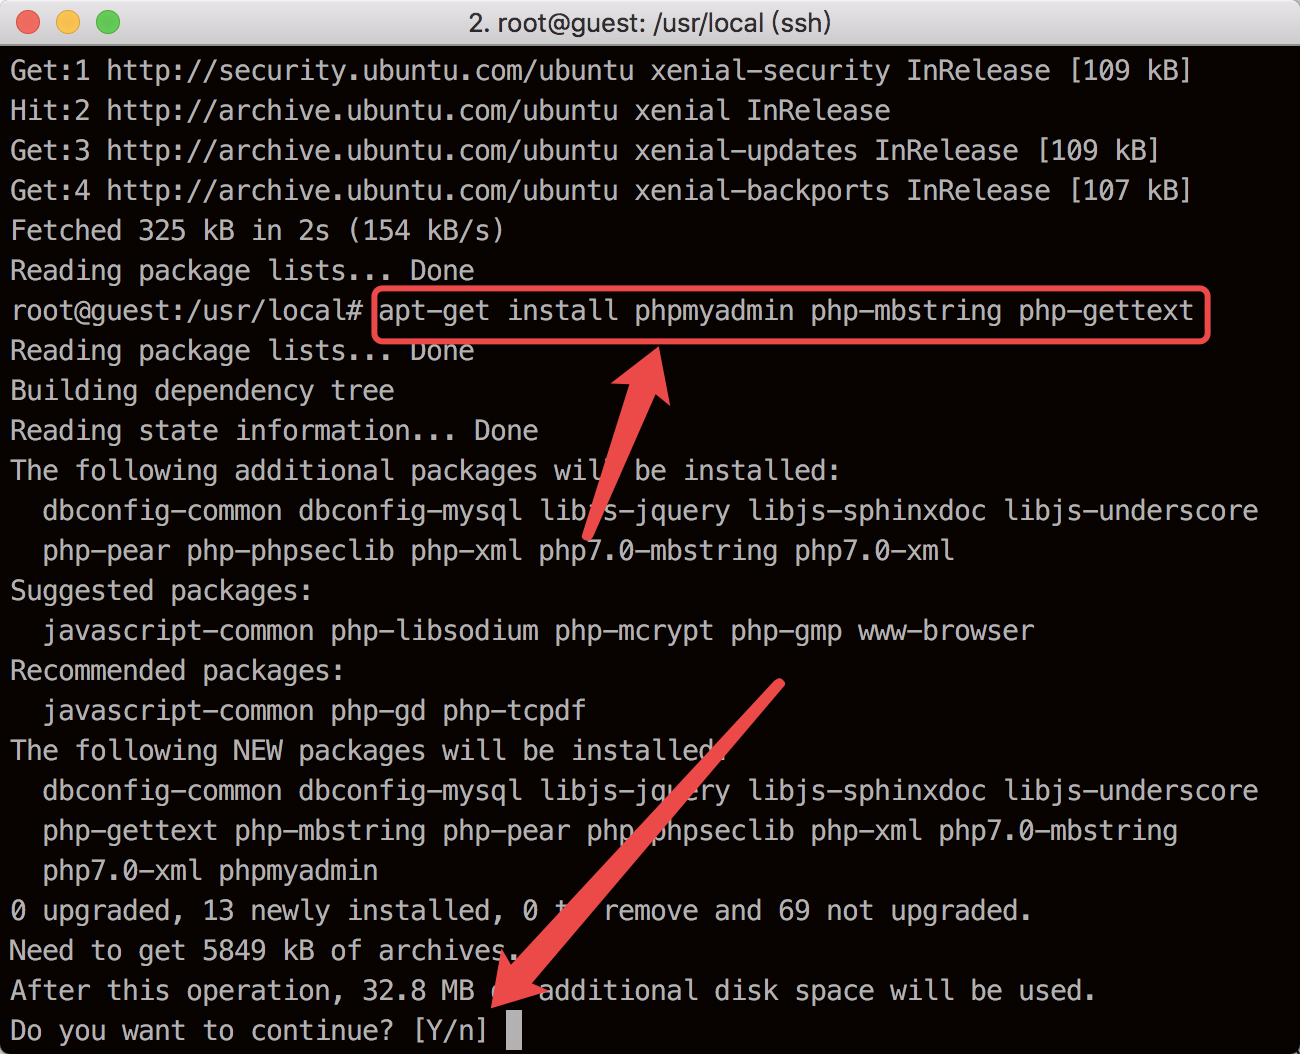
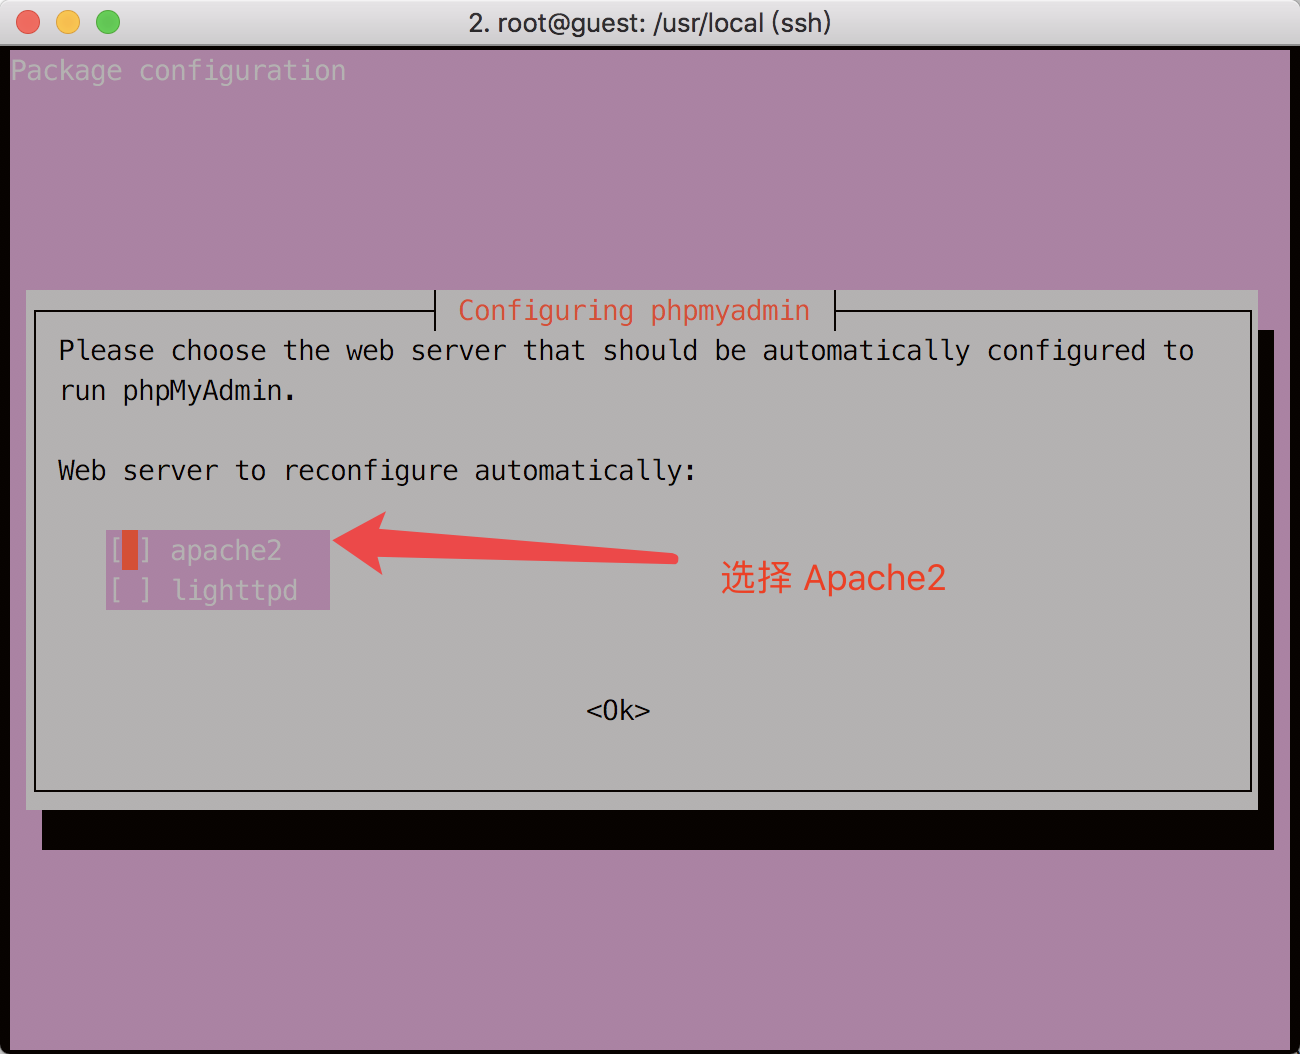
选择 Apache2
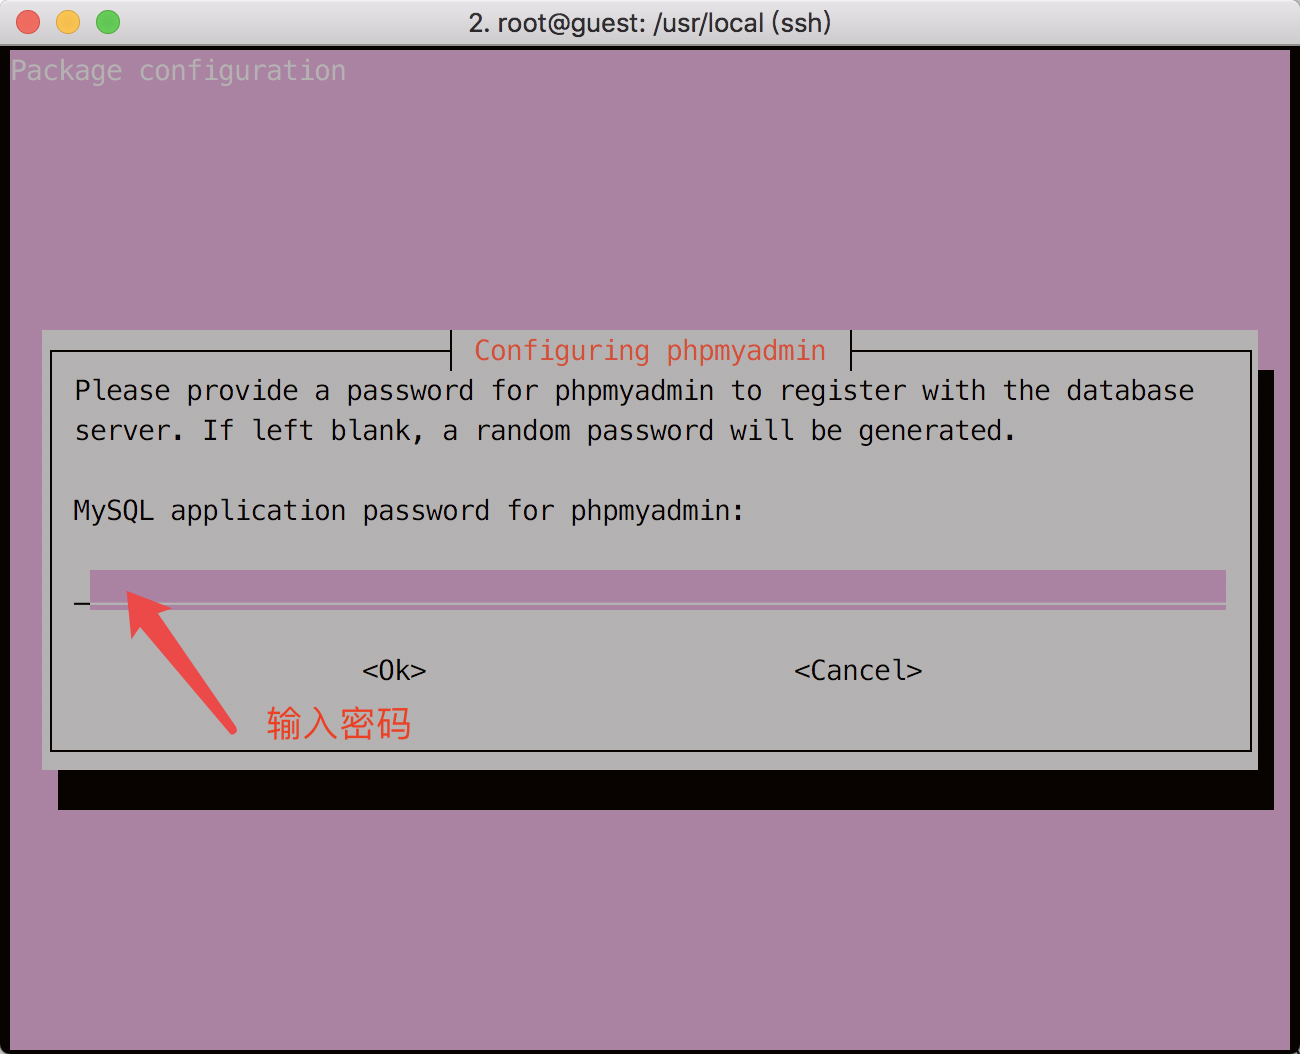
配置 PHPMyAdmin,设置密码:
********
配置完成后,创建链接
1
ln -s /usr/share/phpmyadmin/ /var/www/html/
重启 Nginx
1
systemctl restart nginx
访问**
http://server_domain_or_IP/phpmyadmin**,出现下图则安装配置成功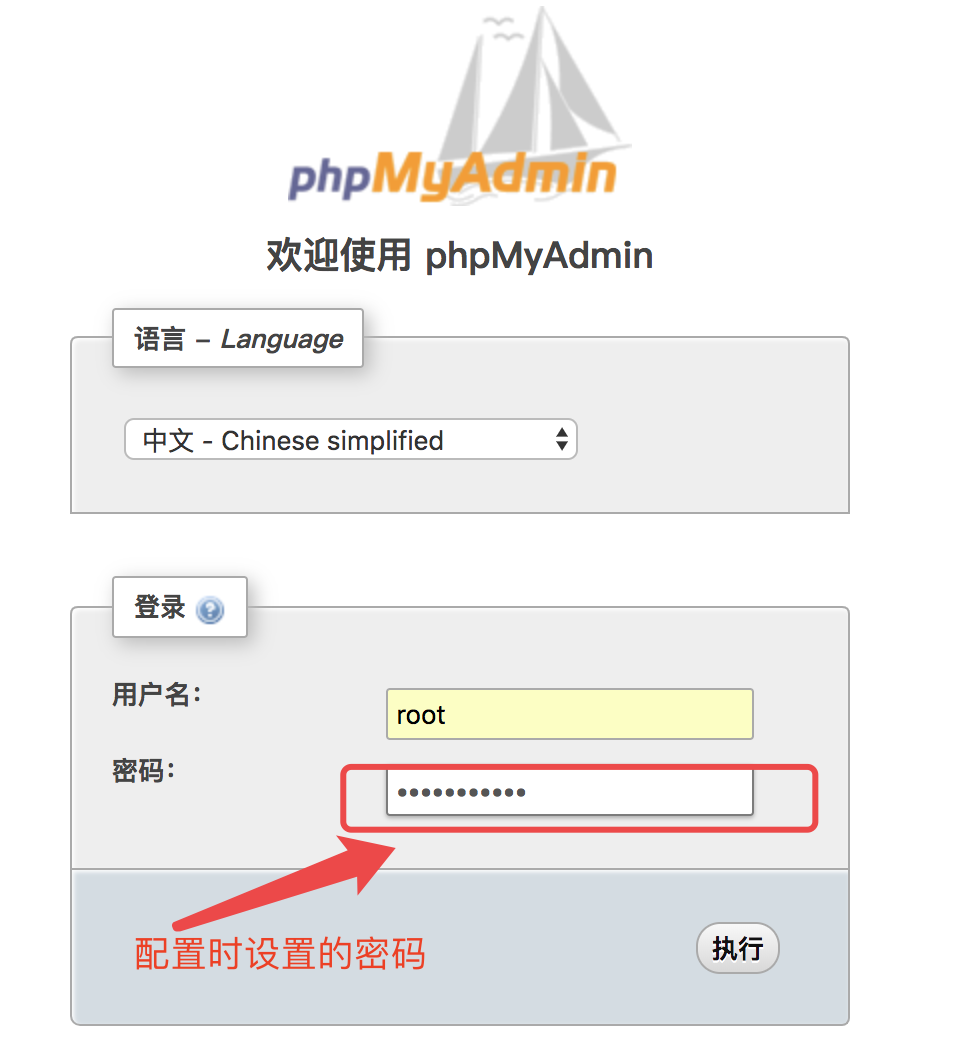
安装 Chevereto
新建目录,下载 https://chevereto.com/free 脚本
1
2
3
4
cd /usr/local
mkdir Chevereto
wget -O Chevereto/index.php -c https://chevereto.com/download/file/installer
chmod 777 -R Chevereto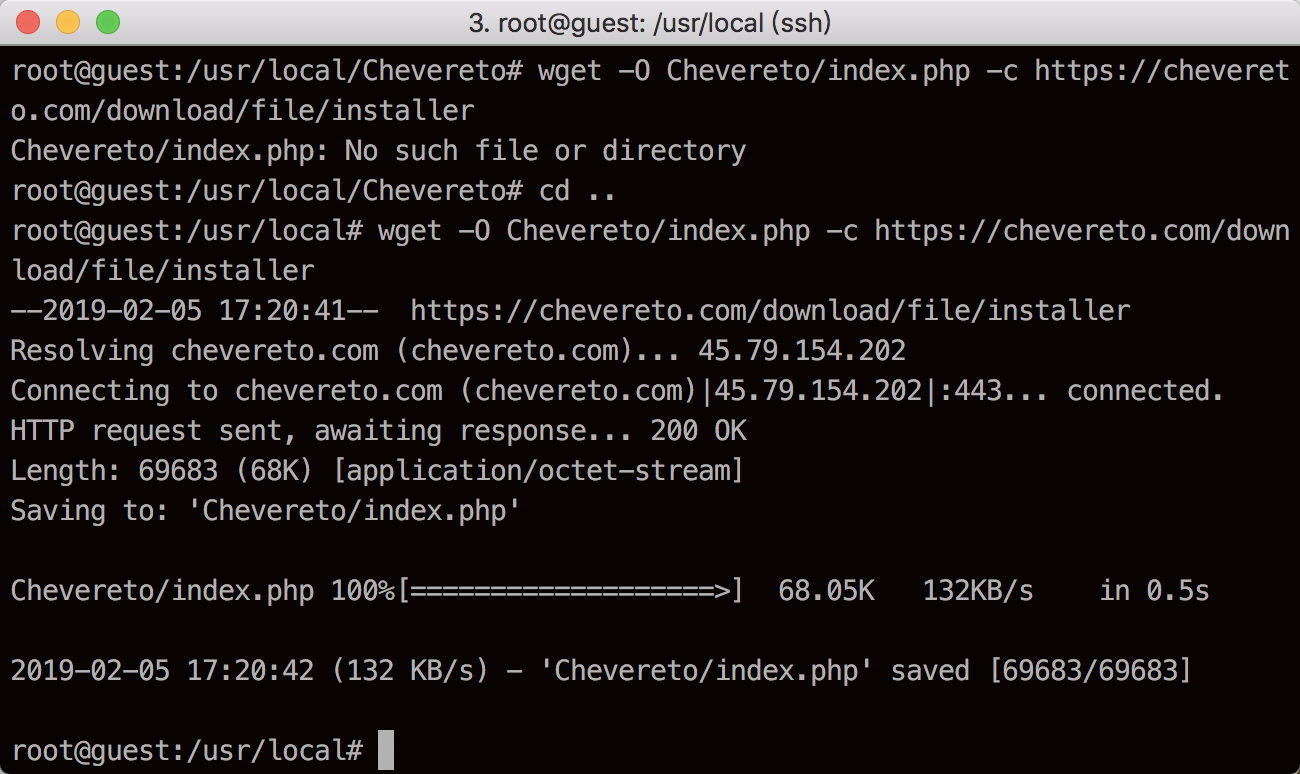
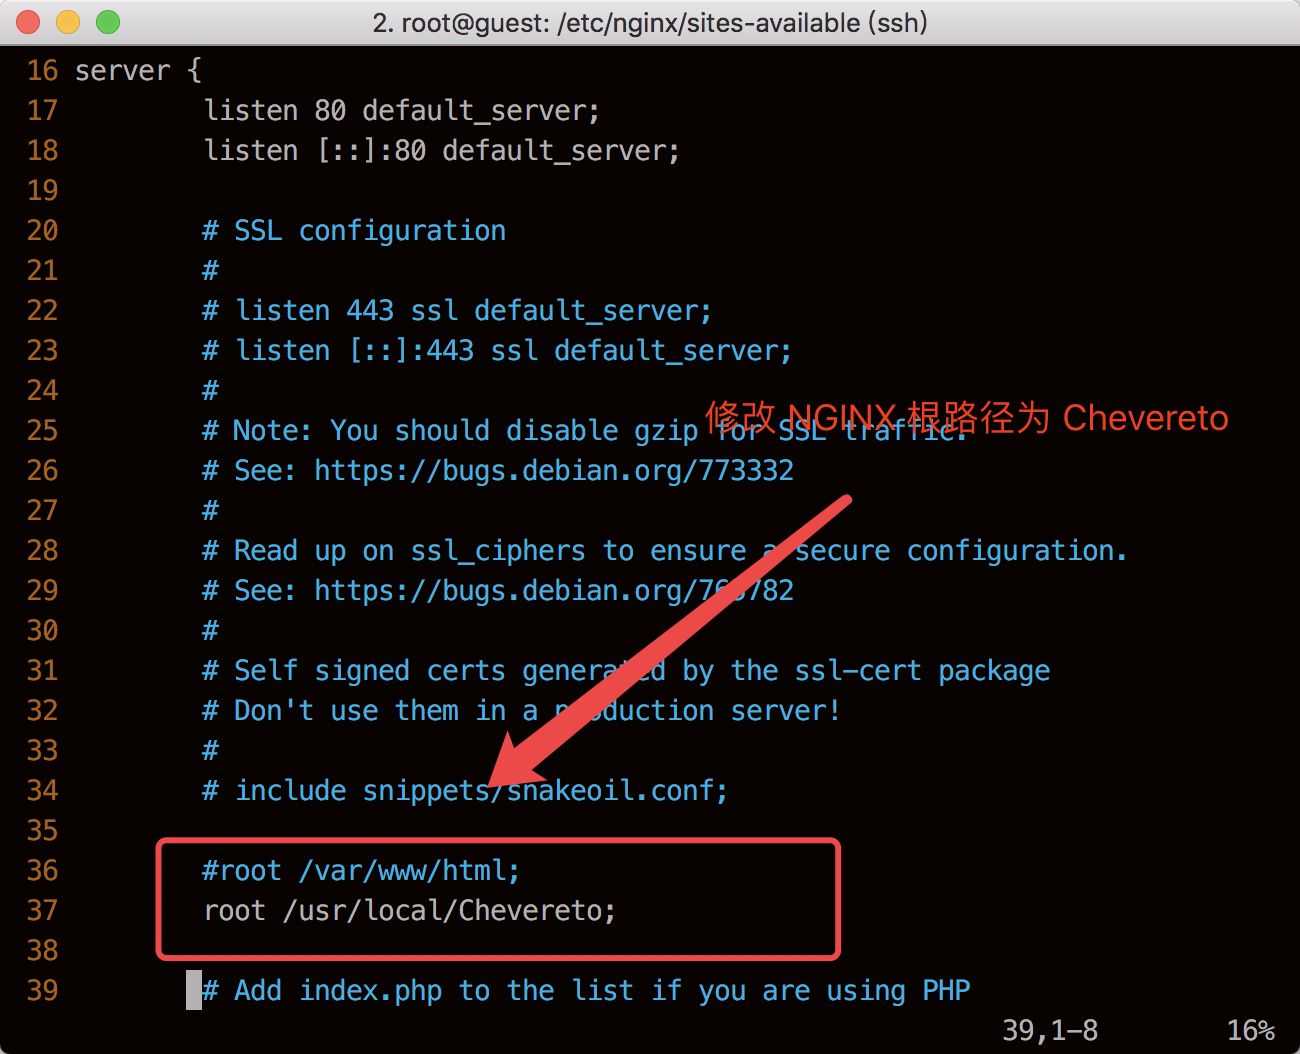
修改 Nginx 配置文件
vi /etc/nginx/sites-available/default:1
2
3
4
5
6
7
8
9
10
11
12
13
14
15
16
17
18
19
20
21
22
23listen 80 default_server;
listen [::]:80 default_server;
root /usr/local/chevereto;
server_name localhost;
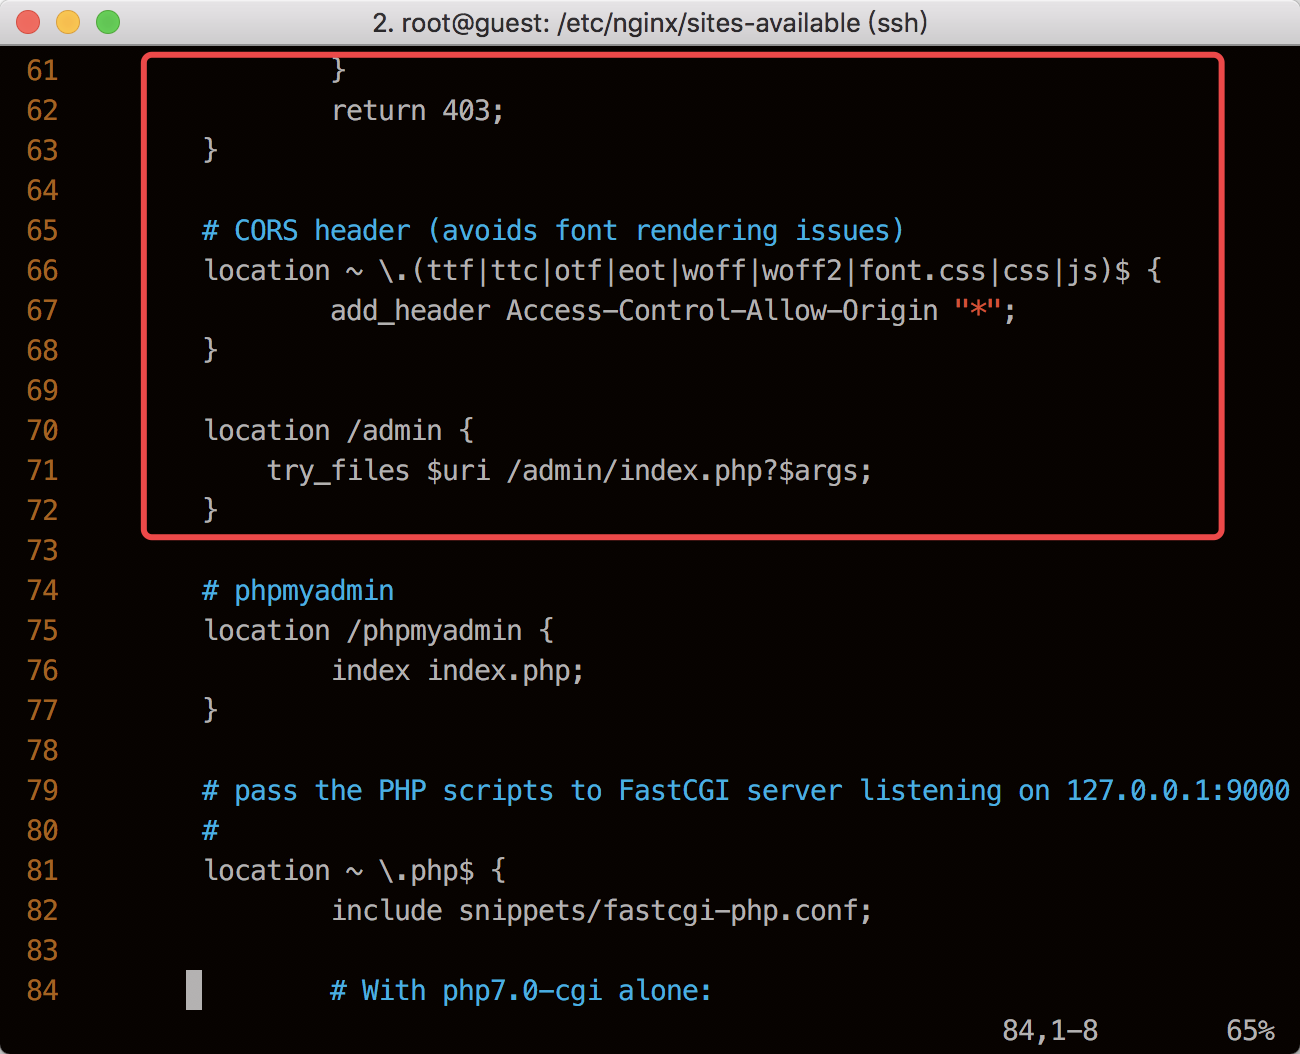
# Image not found replacement
location ~* (jpe?g|png|gif) {
log_not_found off;
error_page 404 /content/images/system/default/404.gif;
}
#Chevereto: Upload path for image content only and set 404 replacement
location ^~ /images/ {
location ~* (jpe?g|png|gif) {
log_not_found off;
error_page 404 /content/images/system/default/404.gif;
}
return 403;
}
# CORS header (avoids font rendering issues)
location ~ \.(ttf|ttc|otf|eot|woff|woff2|font.css|css|js)$ {
add_header Access-Control-Allow-Origin "*";
}配置截图如下:
重启 Nginx :
1
systemctl restart nginx
访问**
http://server_domain_or_IP**,出现下图:(说明 PHP 扩展没有安装)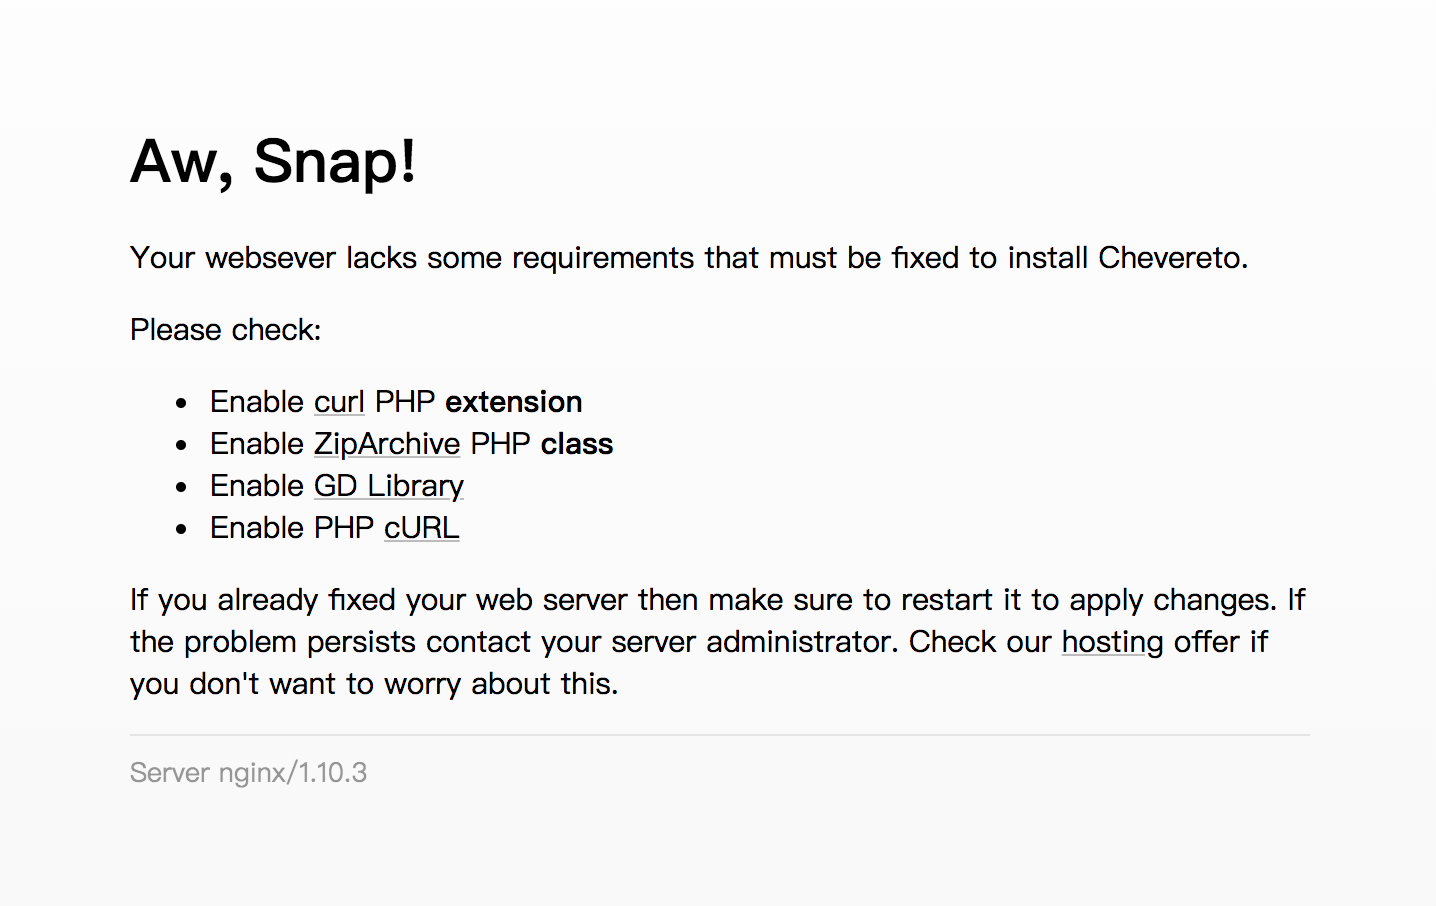
安装 PHP-curl 扩展
1
sudo apt install php-curl php-mbstring php-mysql php-zip
安装 PHP-gd扩展
1
sudo apt-get install php7.0-gd
访问**
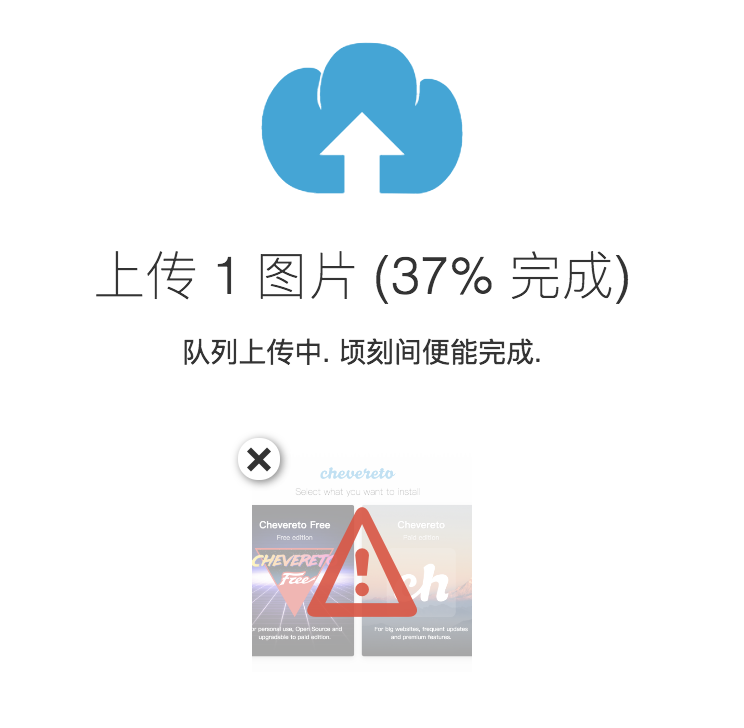
http://server_domain_or_IP,出现下图则说明 **chevereto 安装成功: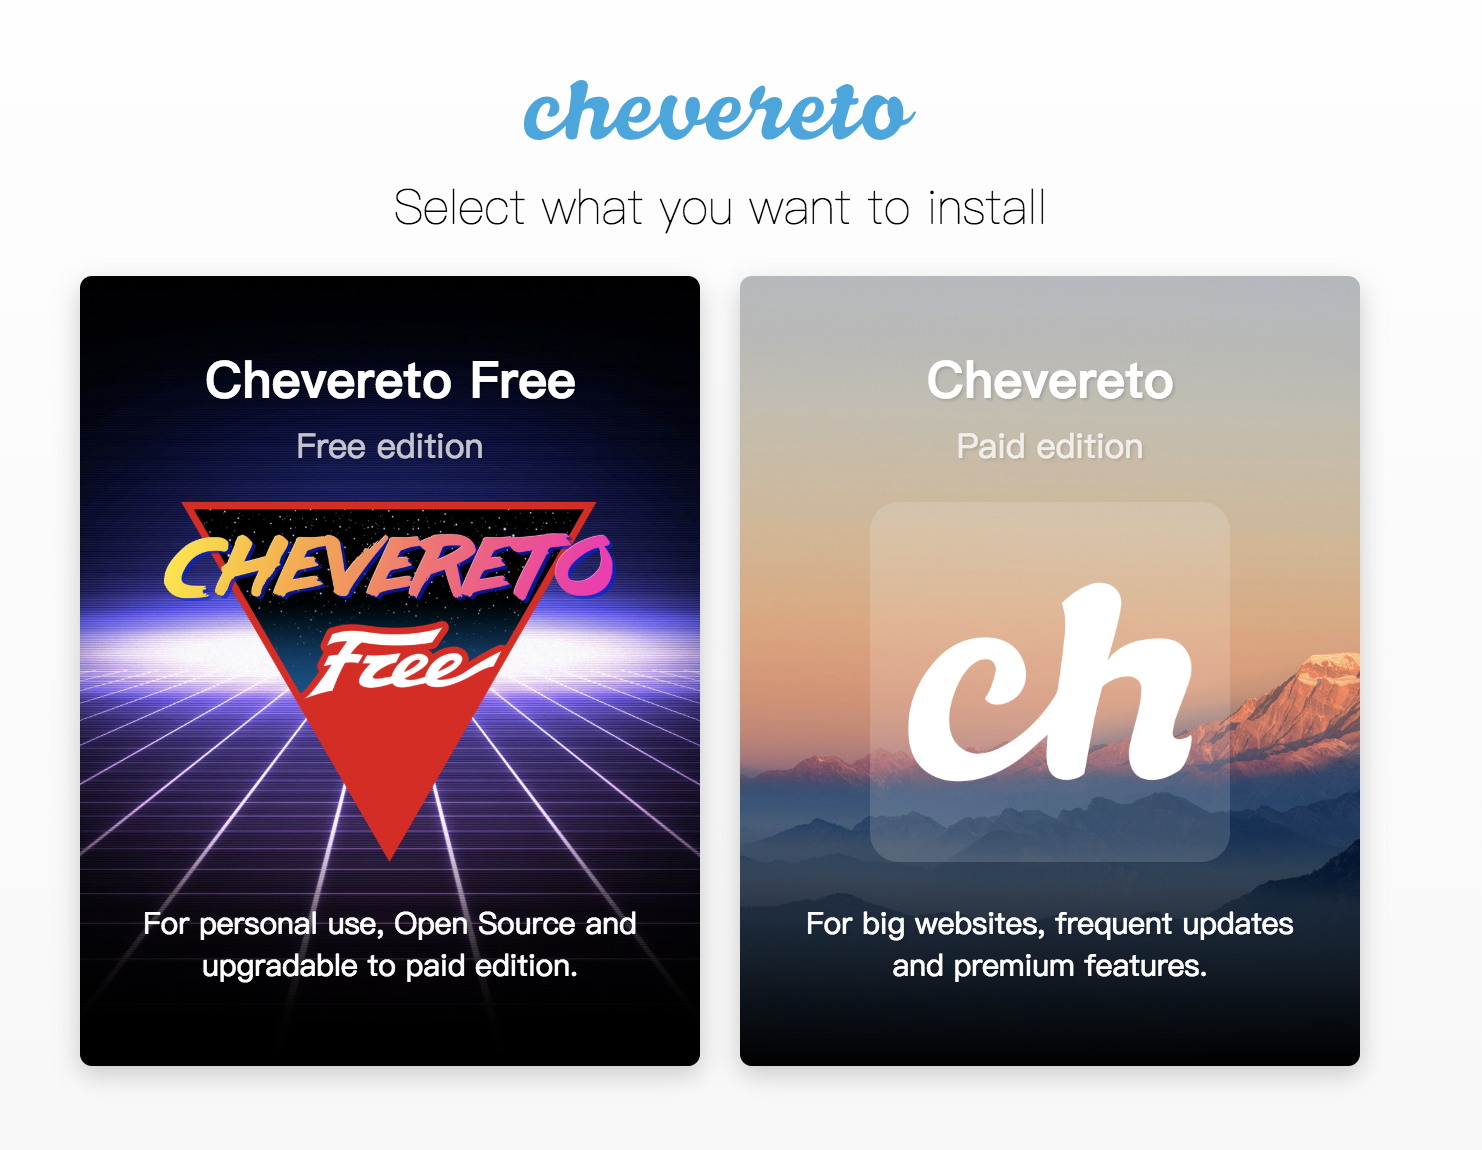
配置 Chevereto(Free版)
选择 Chevereto-Free:

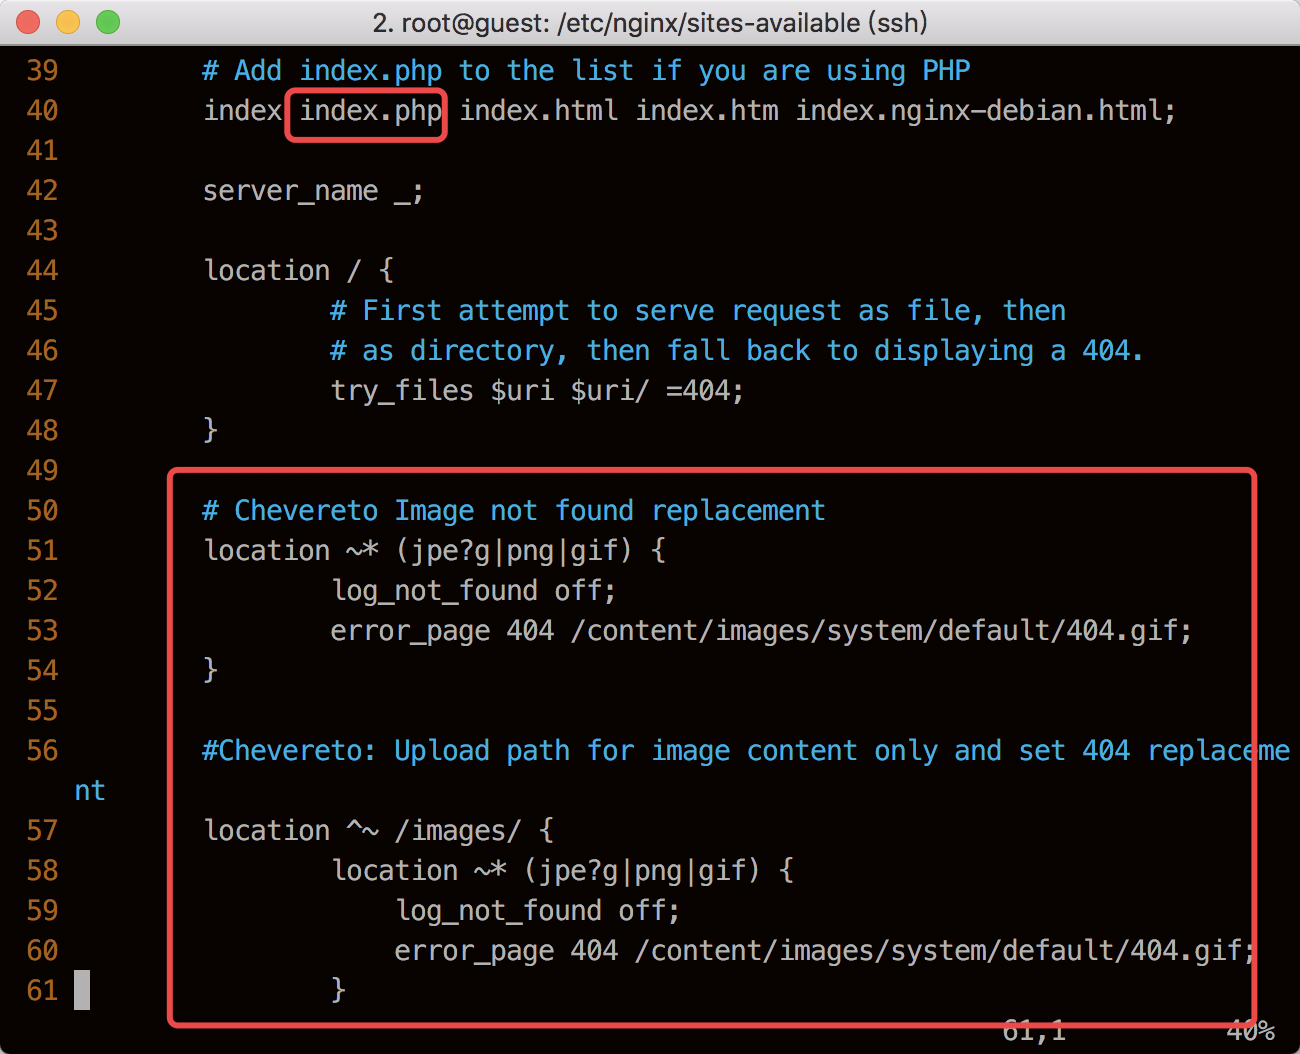
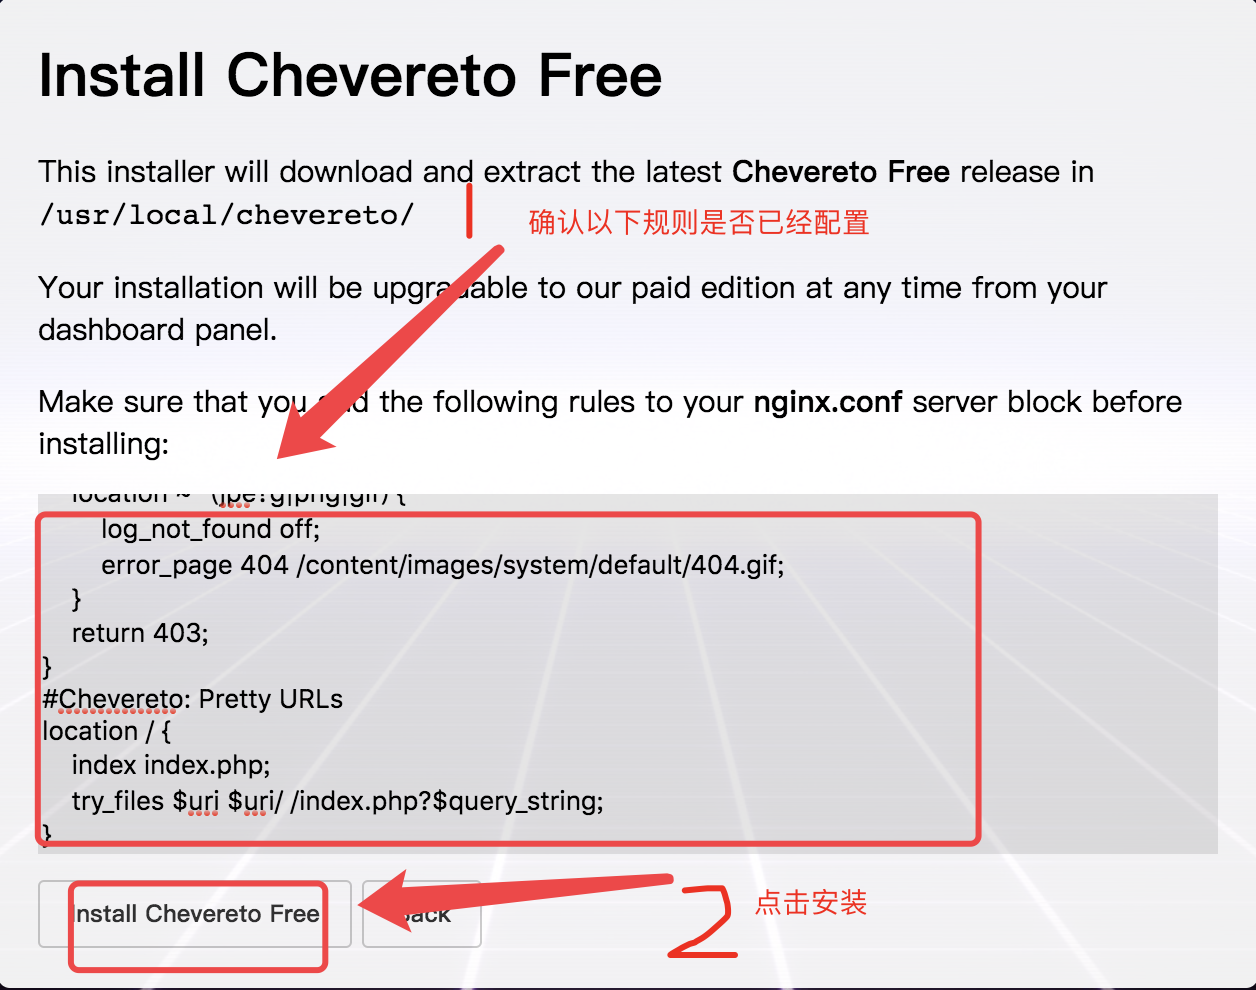
点击开始自动安装请先确认以下 规则 是否已经配置在 nginx.conf 中:没有的需要补充
1
2
3
4
5
6
7
8
9
10
11
12
13
14
15
16
17
18
19
20
21
#Chevereto: Disable access to sensitive files
location ~* /(app|content|lib)/.*\.(po|php|lock|sql)$ {
deny all;
}
#Chevereto: CORS headers
location ~* /.*\.(ttf|ttc|otf|eot|woff|woff2|font.css|css|js) {
add_header Access-Control-Allow-Origin "*";
}
#Chevereto: Upload path for image content only and set 404 replacement
location ^~ /images/ {
location ~* (jpe?g|png|gif) {
log_not_found off;
error_page 404 /content/images/system/default/404.gif;
}
return 403;
}
#Chevereto: Pretty URLs
location / {
index index.php;
try_files $uri $uri/ /index.php?$query_string;
}
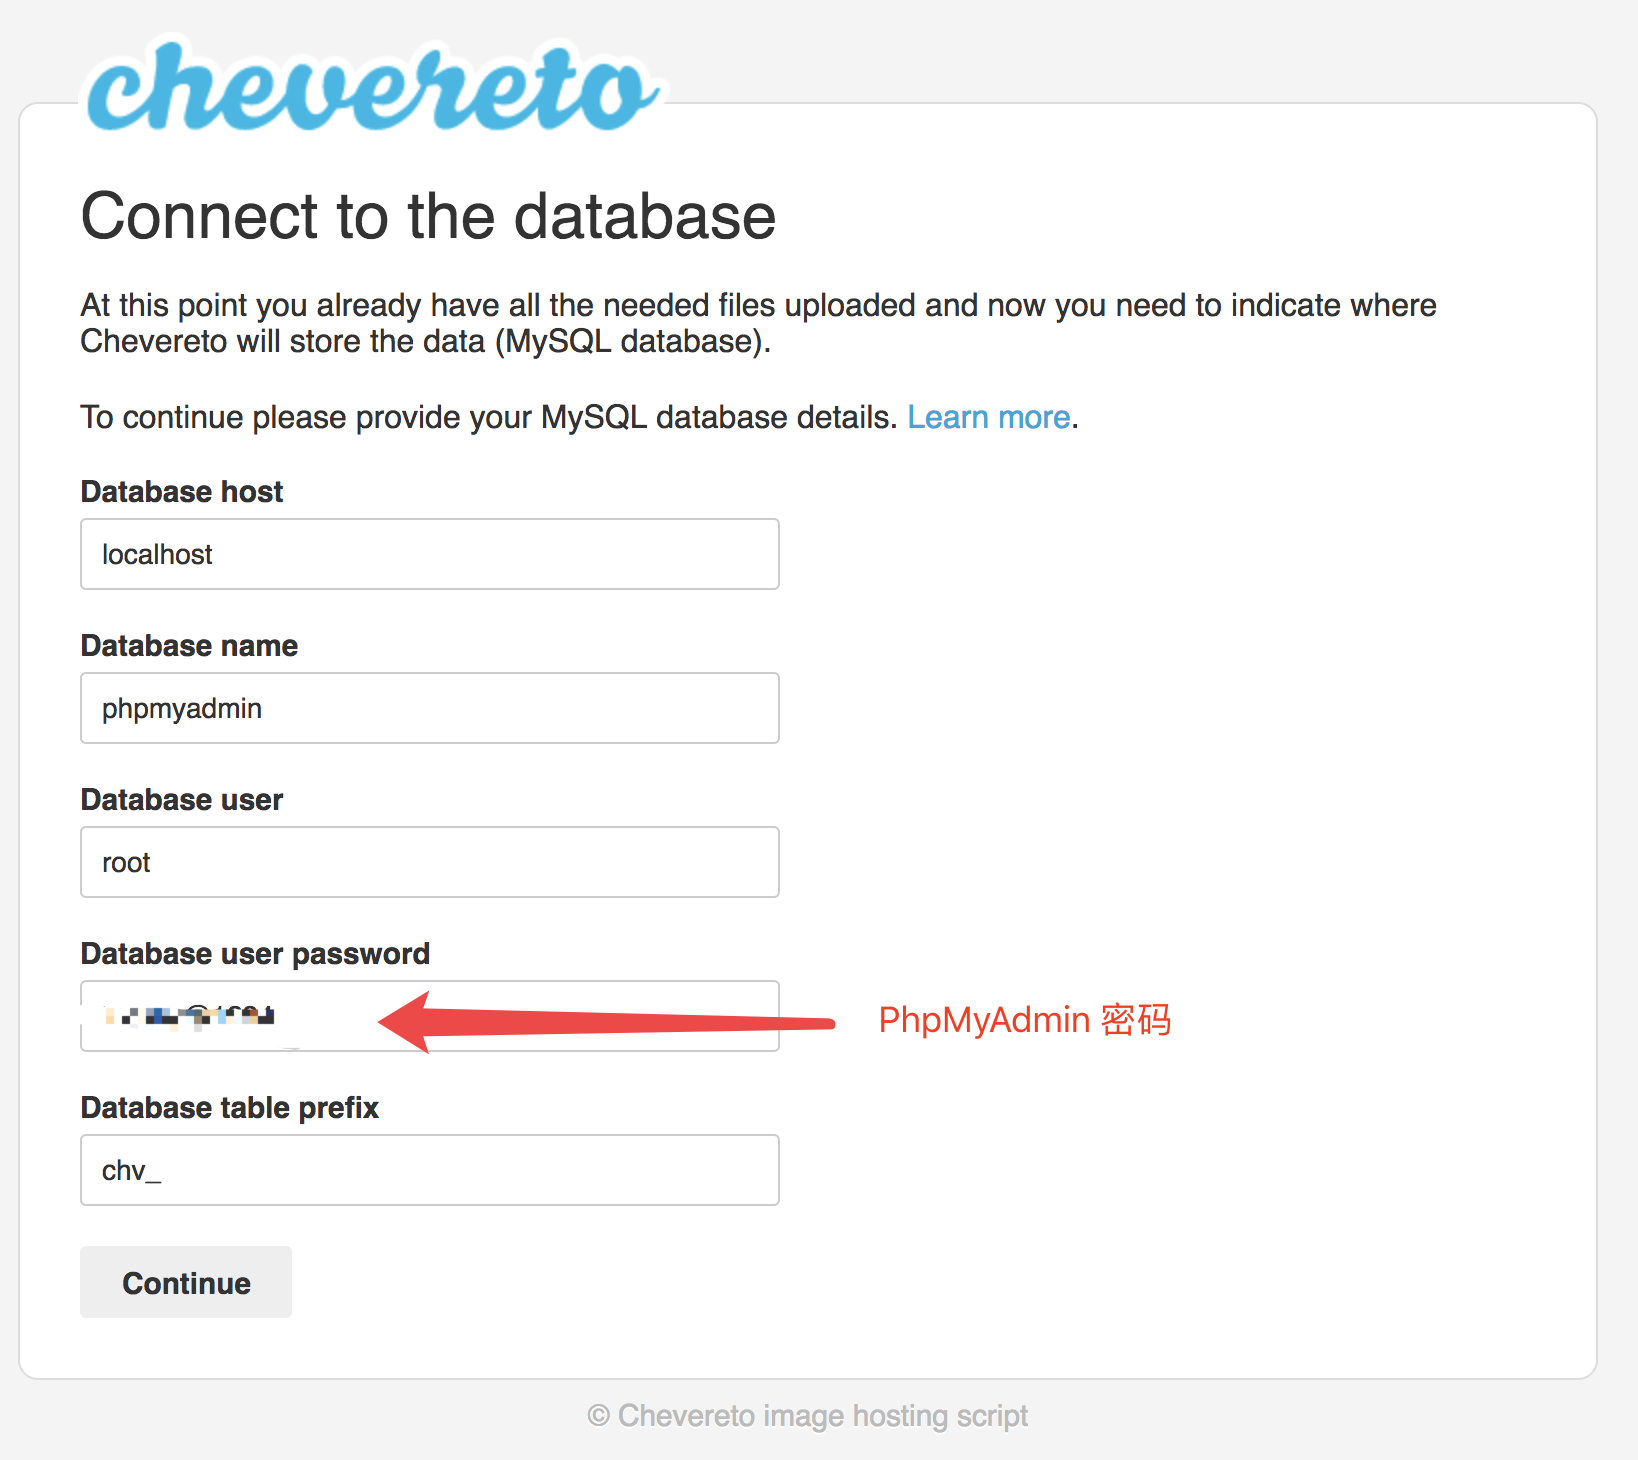
配置 MySQL
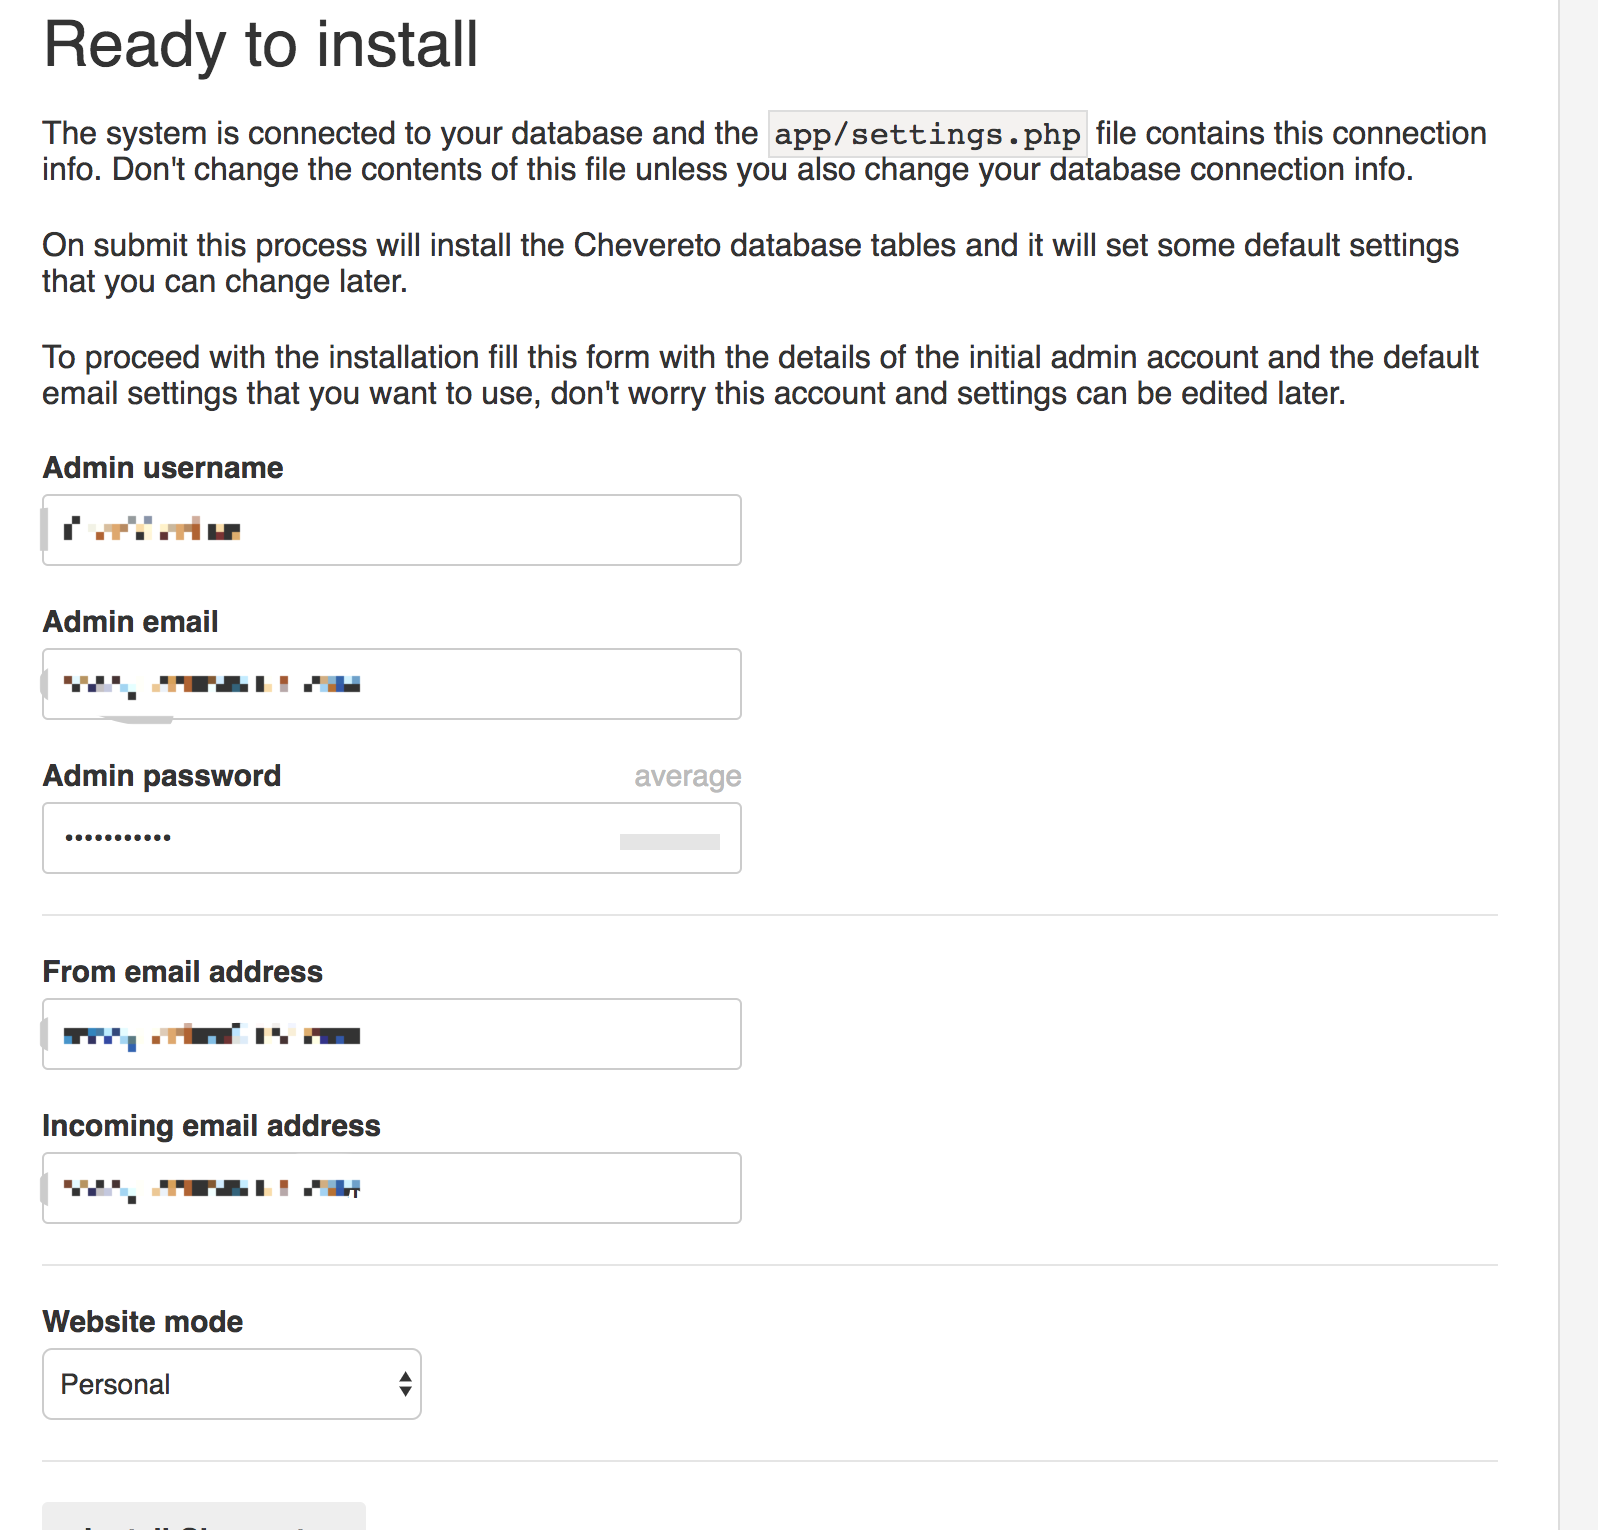
配置 Chevereto 信息
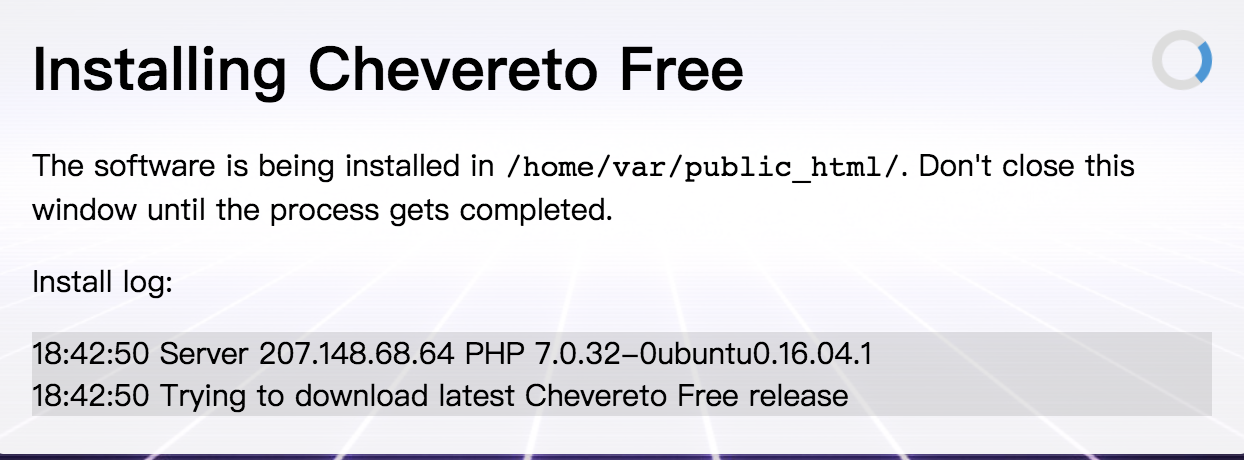
完成安装

补充
Vultr IP 地址能 ping,但是 SSH 无法连接的解决办法:
输入 IP 地址 和端口(SSH 连接端口默认是 22)
- 国内测试 在线检测域名或者ip的端口是否开放
- 国外测试 You Get Signal
结论:
- 如果国内显示关闭,且国外也显示关闭,则可能是机器还未运行正常;
- 如果是国内显示关闭,而国外显示打开,则该 IP 地址已经被 墙 了,所以重新申请个机器换个 IP 重连。
更新 【2019-04-01】
在 Chevereto 上传图片时,出现上传失败解决方案:
使用 SCP(secure copy) 命令上传图片,如下:
1 | scp -P 22 /Users/YourUserName/Desktop/test.png root@YourServerIp:/usr/local/Chevereto/images/ |
其中:
- -P 22: 大写
P为端口参数,22表示更改 SSH 端口后的端口;如果没有改,则可以省略改参数指定 - **/Users/YourUserName/Desktop/test.png **:为本地需要上传的图片绝对路径
- **root@YourServerIp:/usr/local/Chevereto/images/**:为远端服务器
Chevereto安装生成的 images 文件夹路径